Introduction
In the past few months, I’ve been doing a lot of android application security assessments. Over time, I became familiar with the different tools, popular or not, that helped me in my assessments. In this post, I’ll list down these not-so-popular tools (in my opinion based on the different sources and blogs that I have read where these tools were not mentioned) that I’m using during my engagements.
Note: There’s nothing fancy in this post. Just some tools that I found useful.
Magisk
While Magisk is a very popular framework and shouldn’t be considered as one of the “lesser-known” tools, it’s important that I mention it here since some of the tools included in this post are either a feature of Magisk or a module that you can install with Magisk.
So if you don’t have Magisk on your testing device, make sure to install it now!
Magisk Hide
Magisk Hide is the first tool that will be discussed since it has saved me a lot of time when bypassing an application’s root detection mechanism. Magisk Hide is one of the features of Magisk, and bypassing root detection is as simple as toggling the switch ON.
As an example, let’s try bypassing the root detection mechanism of the PS4 Remote Play app. When running this application on a rooted device, the following error shows up: 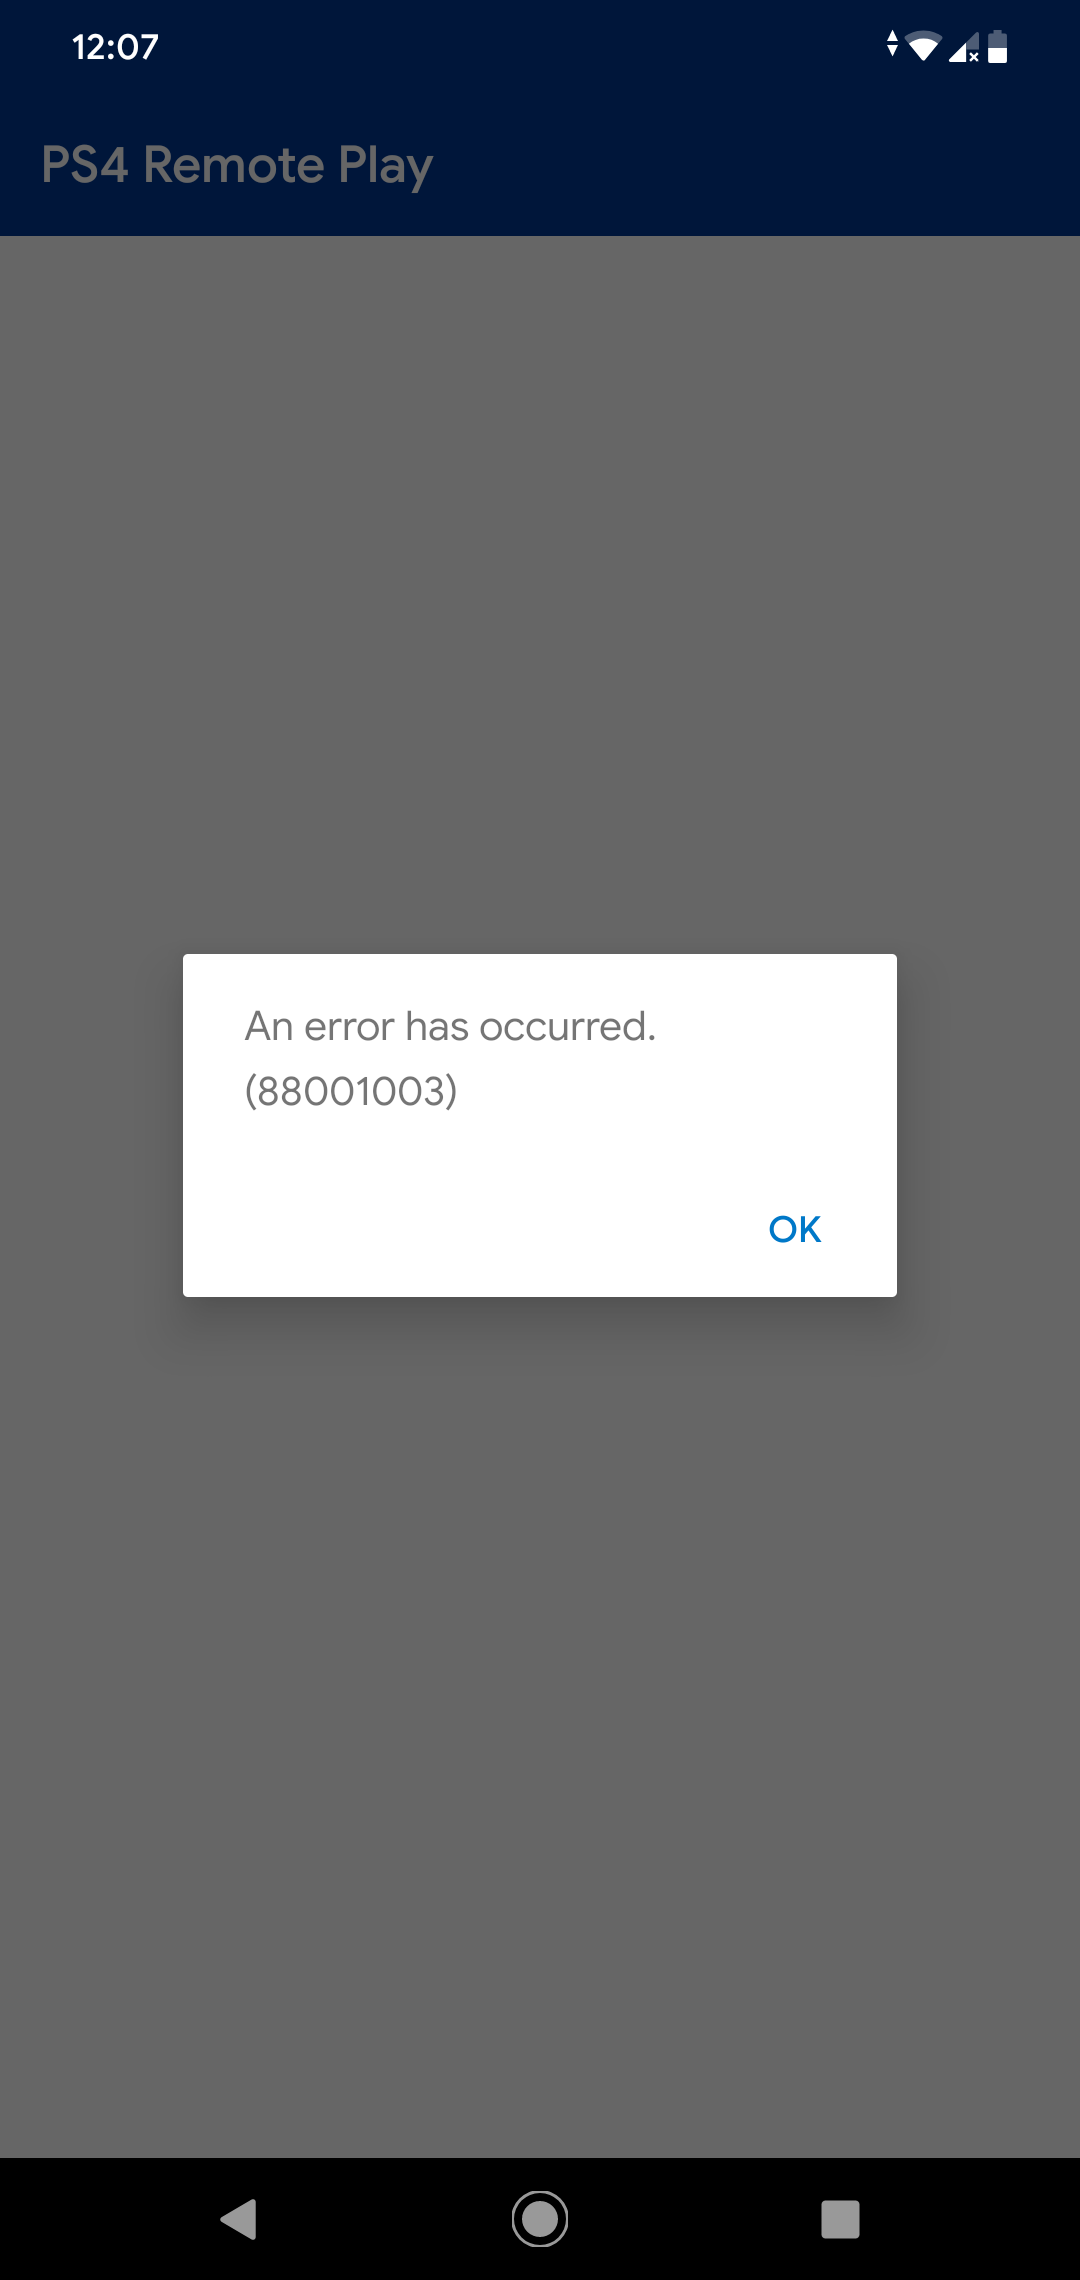
To bypass the root detection of this application, open Magisk Manager, tap the menu icon ☰ (top left corner) and select Magisk Hide. 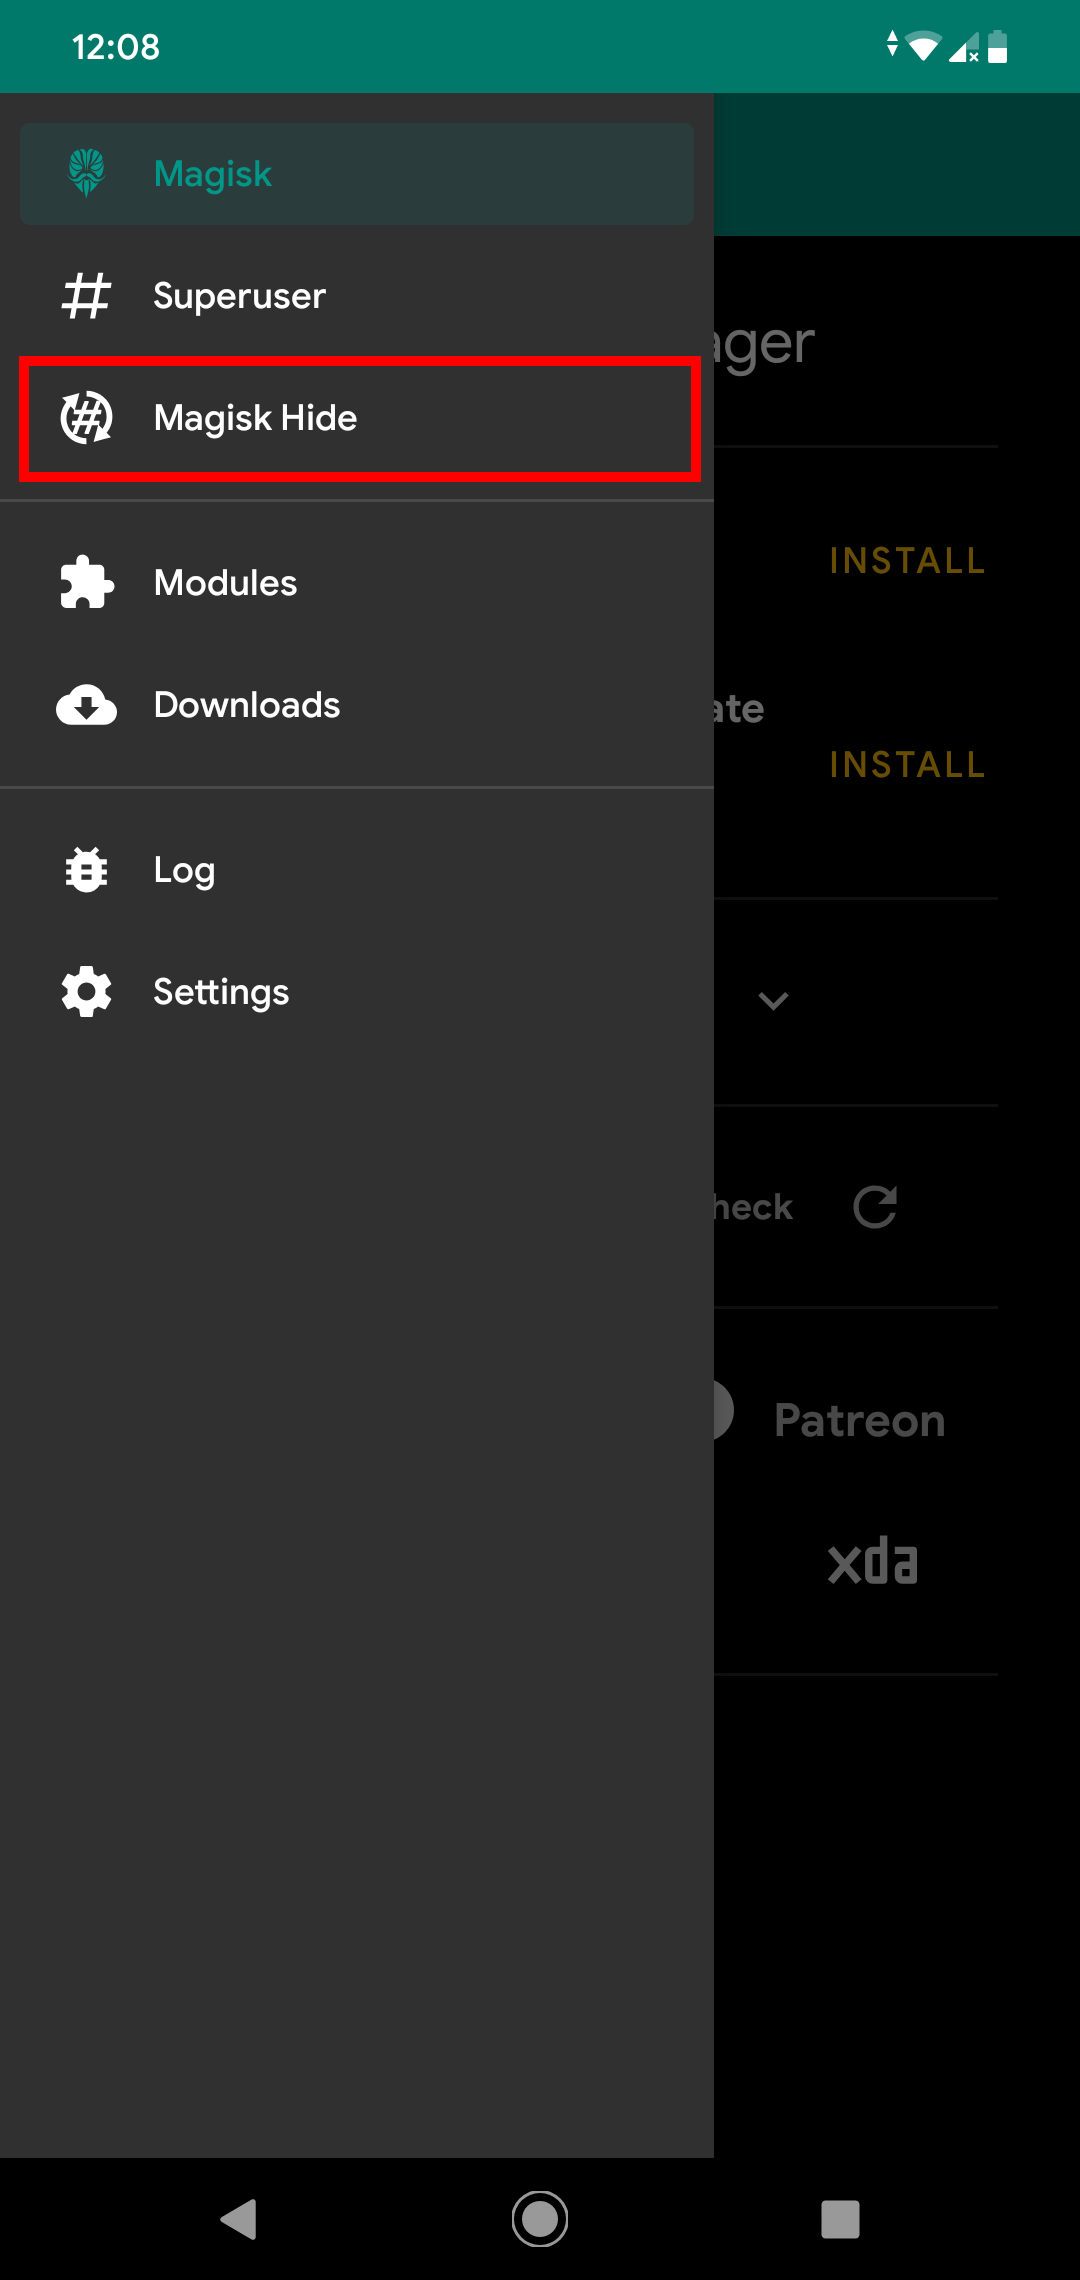
Select the target application (“PS4 Remote Play” in this case) from the list of applications. 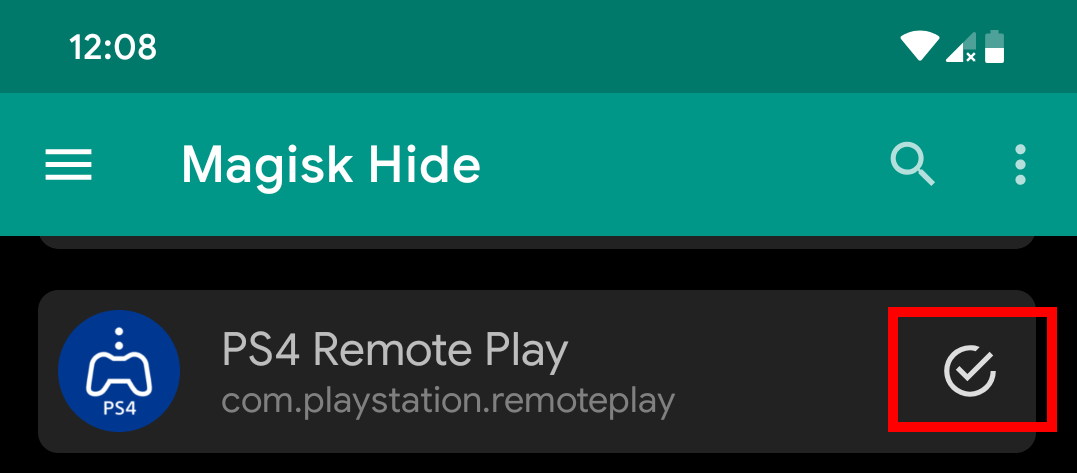
Run the app again and we should now be able to launch the PS4 Remote Play without the error. 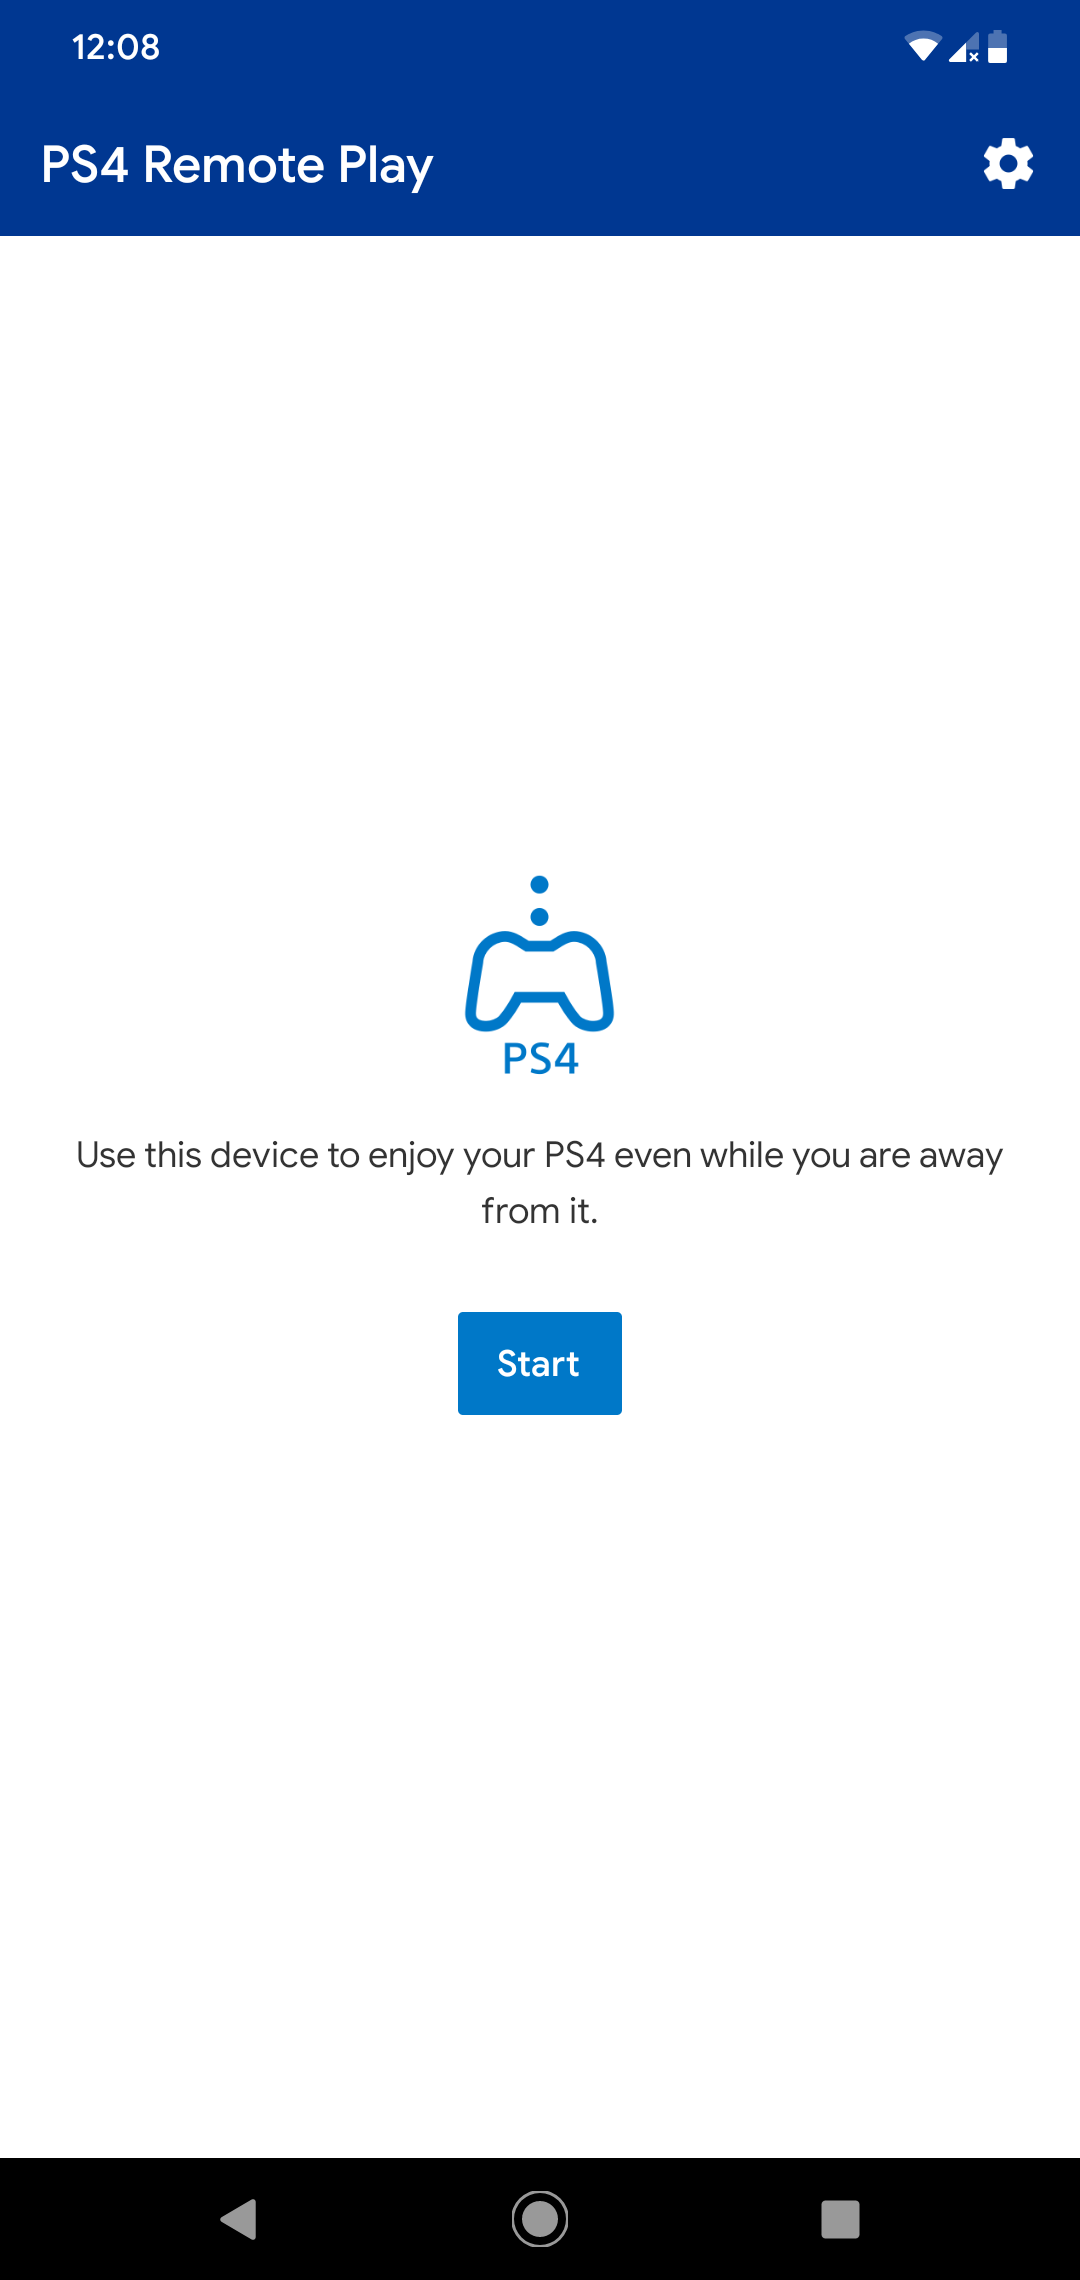
If root detection was still not bypassed after adding the application in the Magiks Hide list, try hiding the Magisk Manager app itself. To do this, open Magisk Manager, tap the menu icon ☰ (top left corner) and select Setting. Then tap the Hide Magisk Manager option. 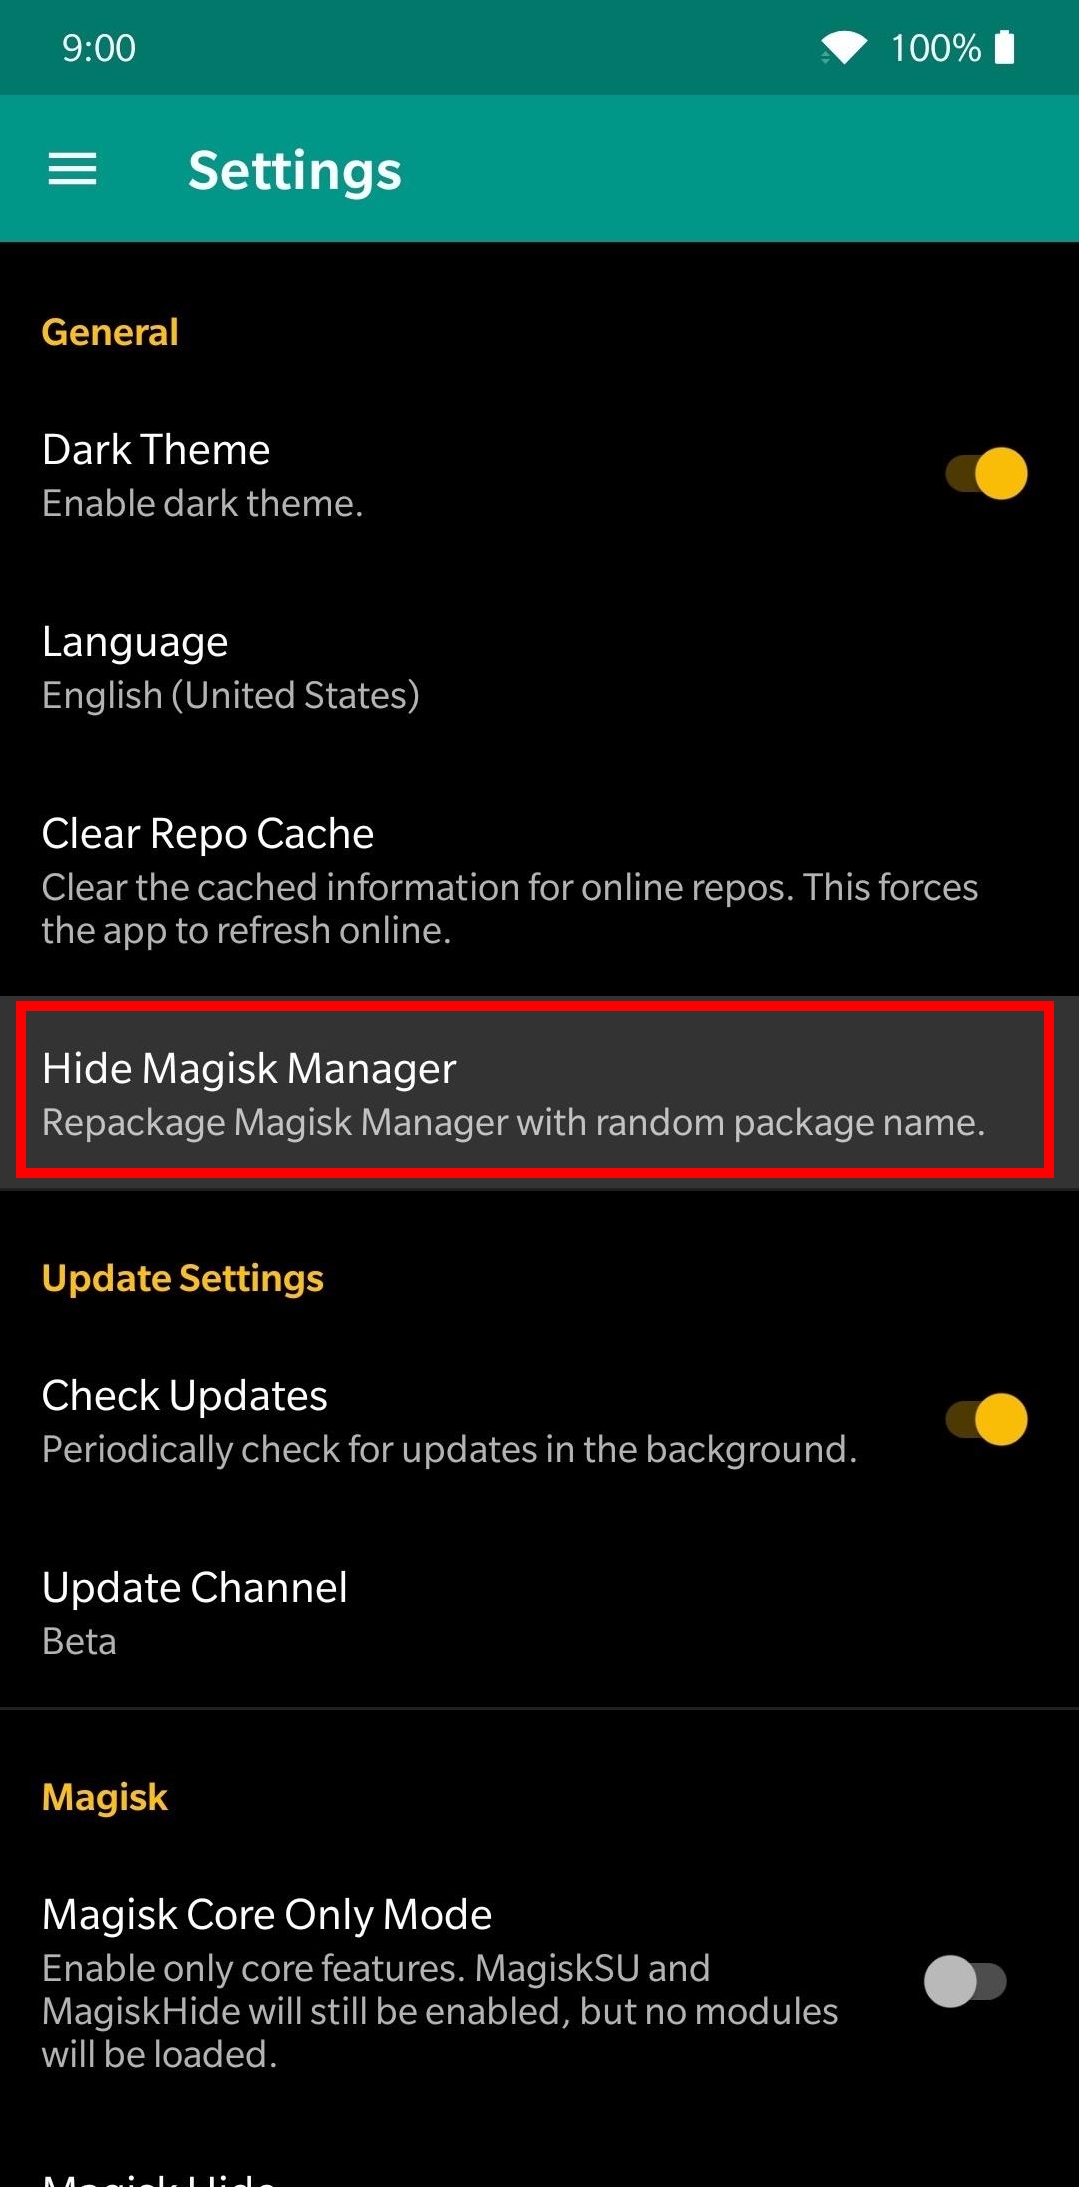
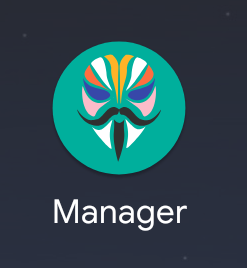
This repackages the Magisk Manager app with a random package name and changes the app name from Magisk Manager to just Manager. 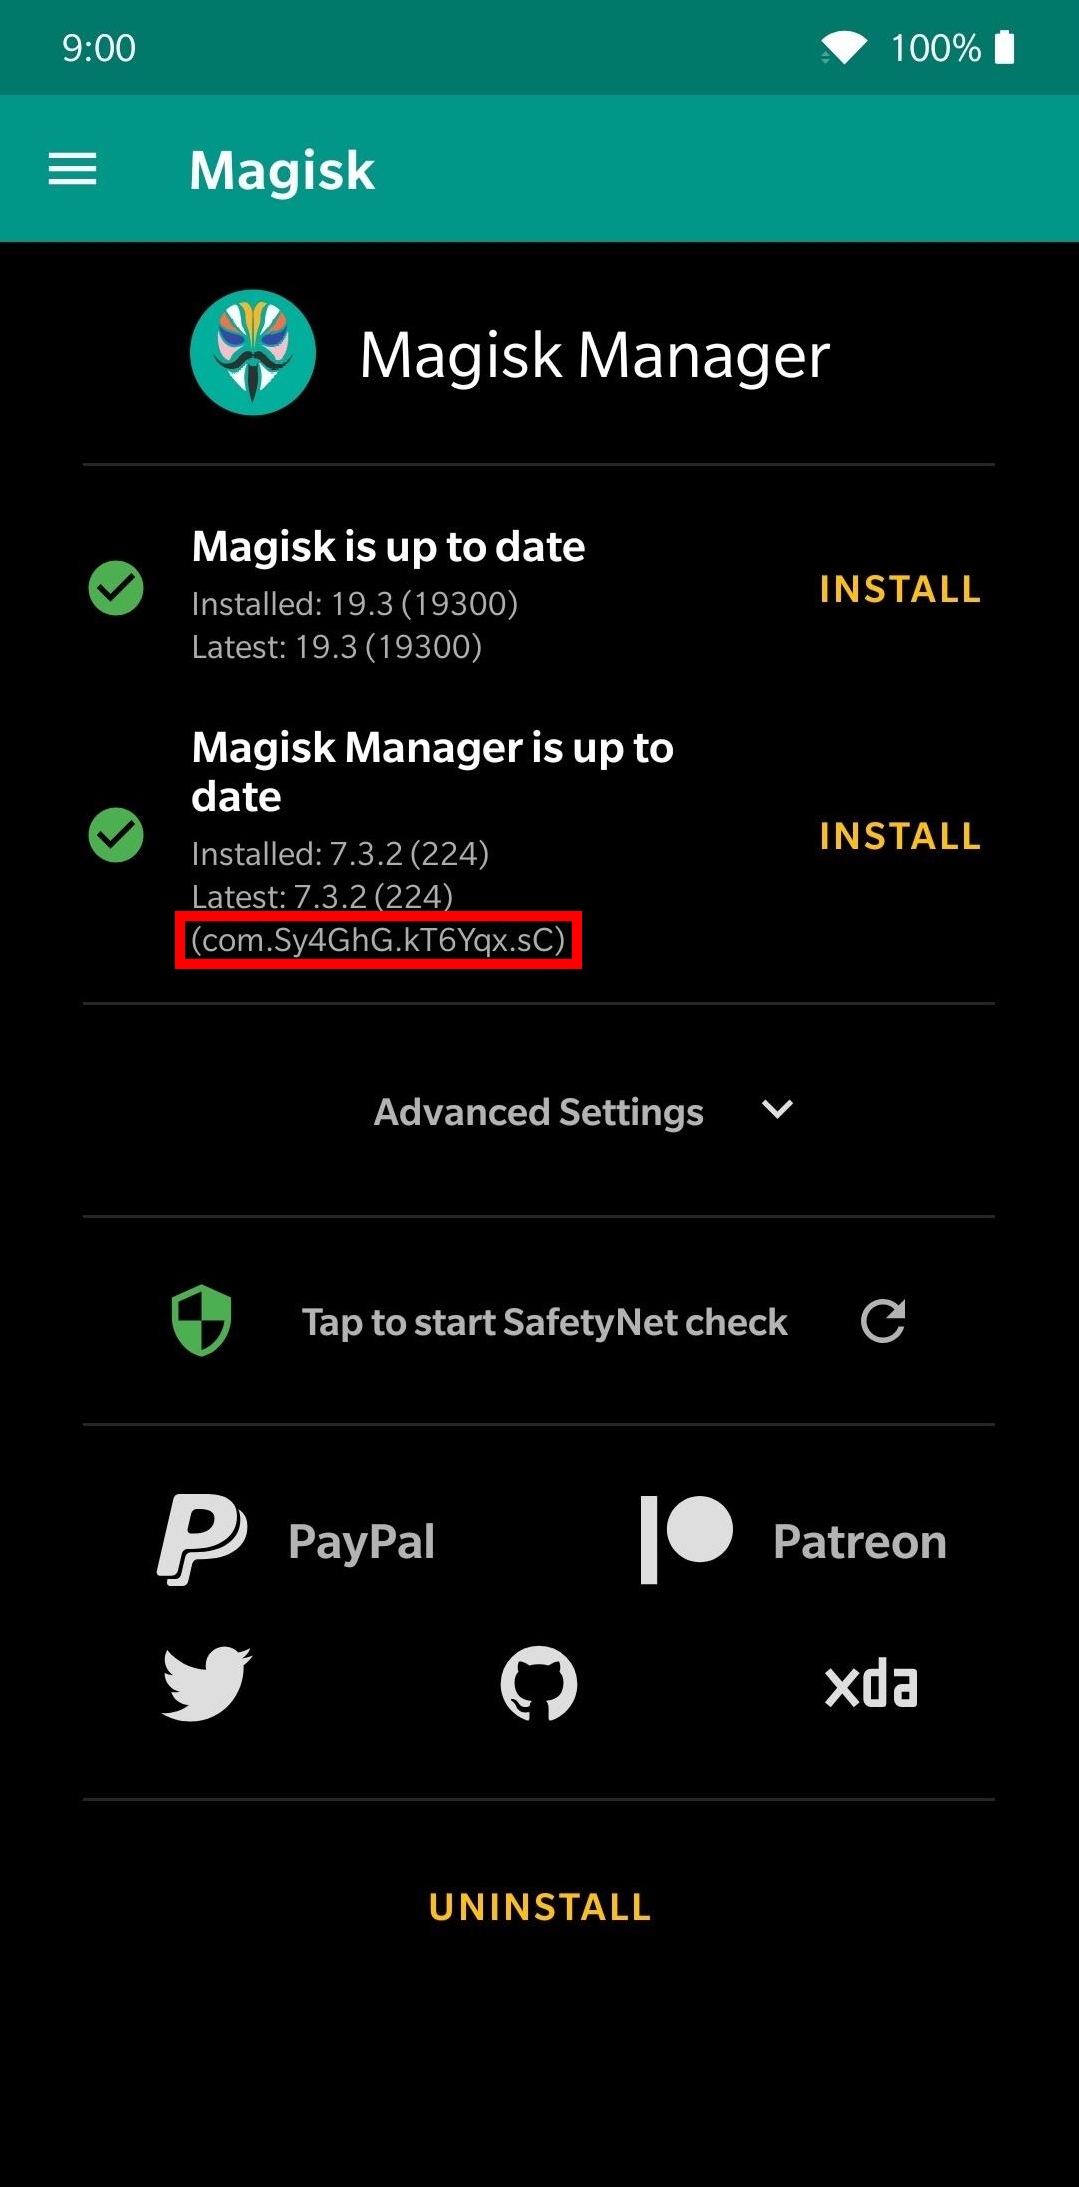
Move Certificate
Starting with Android Nougat (API Level 24), applications, by default, no longer trust user-added certificate for secure connections. This results in the following errors when capturing HTTPS traffic from an application running on Android Nougat and above. 
One method to resolve this issue is to add user-installed certificates to the system certificate store. This can be done manually or automatically using the Magisk module Move Certificate. Of course, I prefer the Magisk way! After installing the module, all user-installed certificate will be added automatically to the system certificate store. 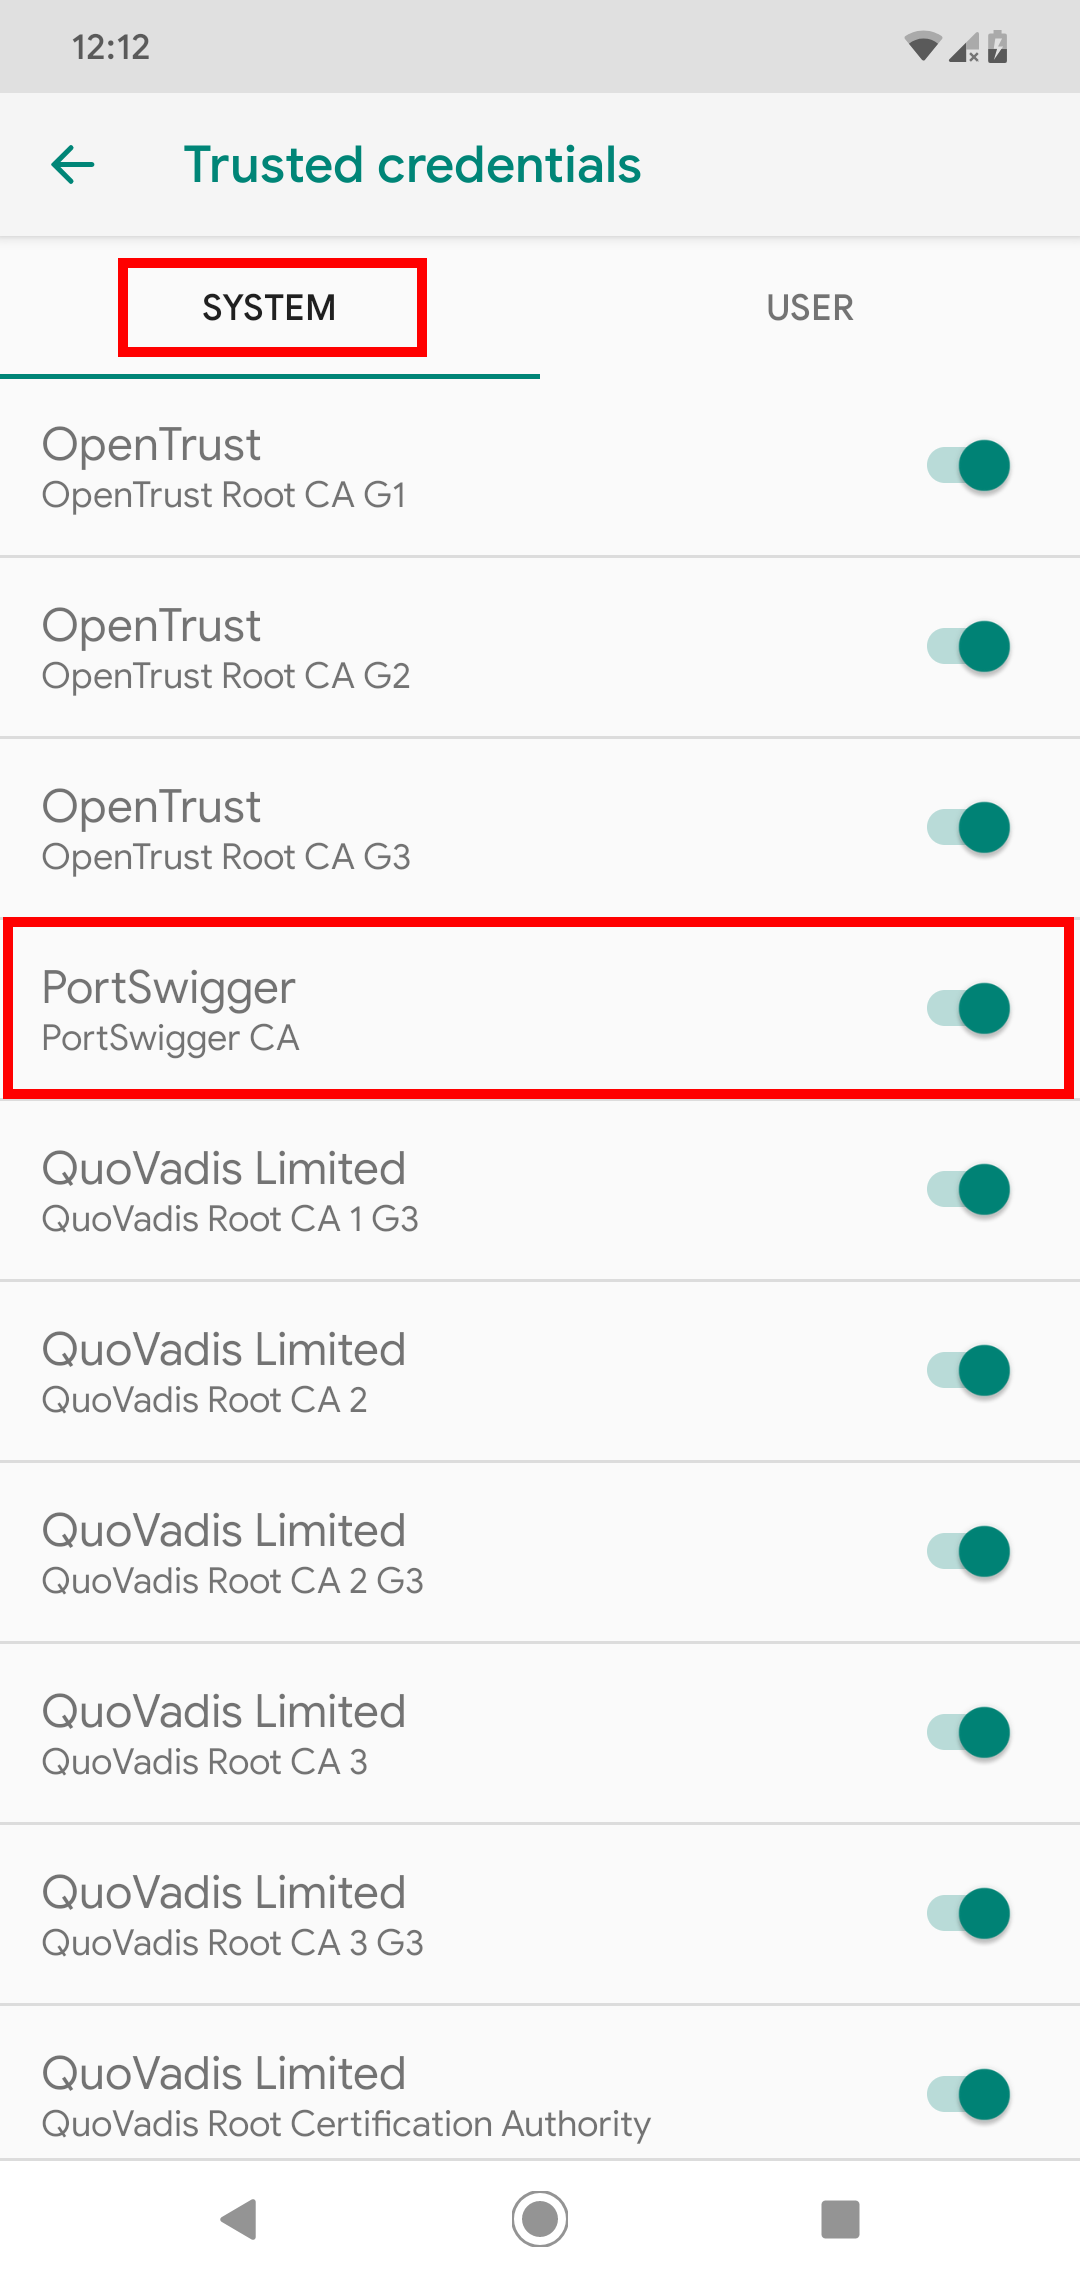
Root Certificate Manager
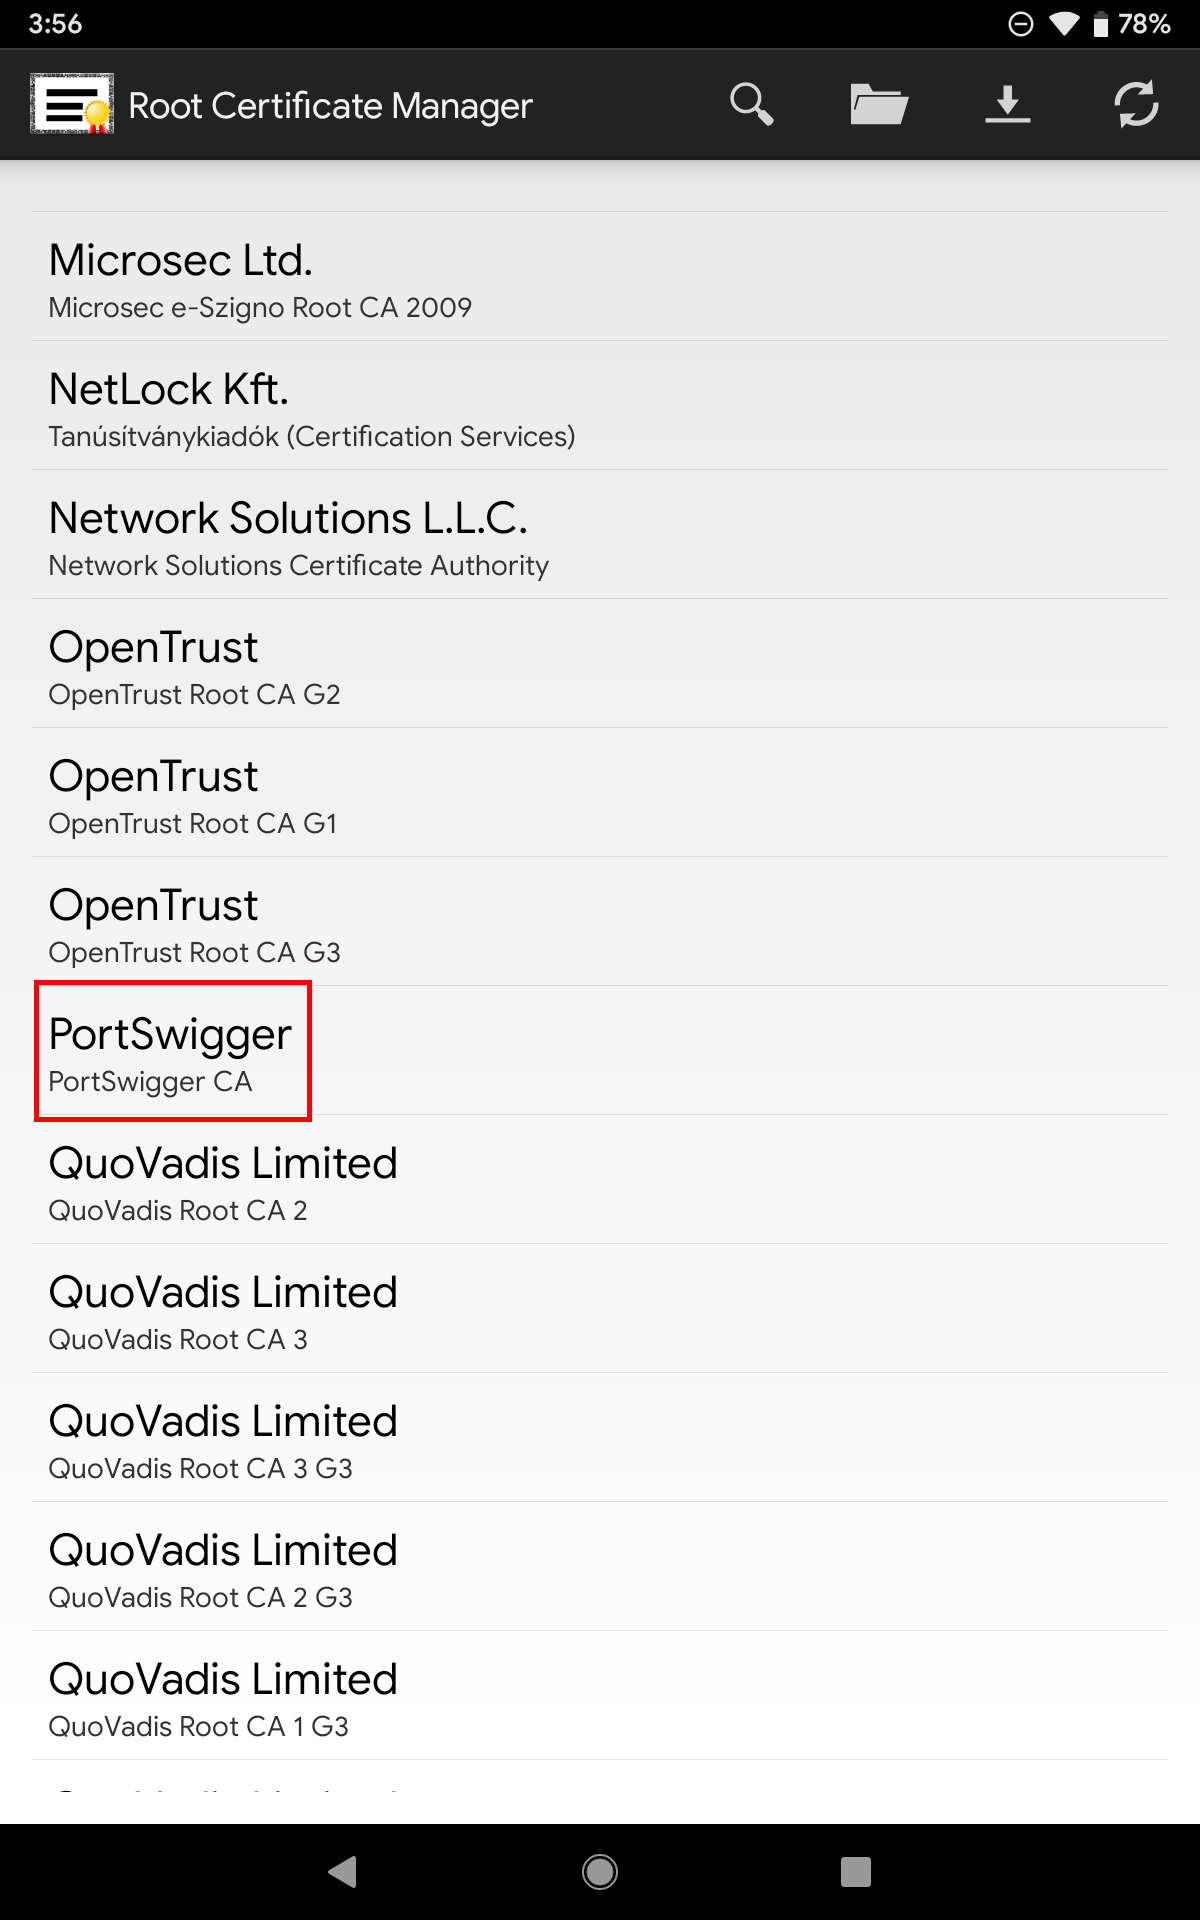
If you’re using an old device and/or you don’t have Magisk, the other tool that could be used to ease up the process of adding a certificate to the system store is by using Root Certificate Manager.
DisableFlagSecure
Sensitive applications, such as mobile bankings, password managers, 2FA apps, etc., do not allow screenshots to be taken for security purposes. As an example, when taking a screenshot of the Aegis Authenticator 2FA app, the following error shows: 
When testing this kind of applications, taking evidence for findings which require showing the app or its screens is a bit of a hassle. Before, what I would do is to have another phone with me and take a photo of my testing device. 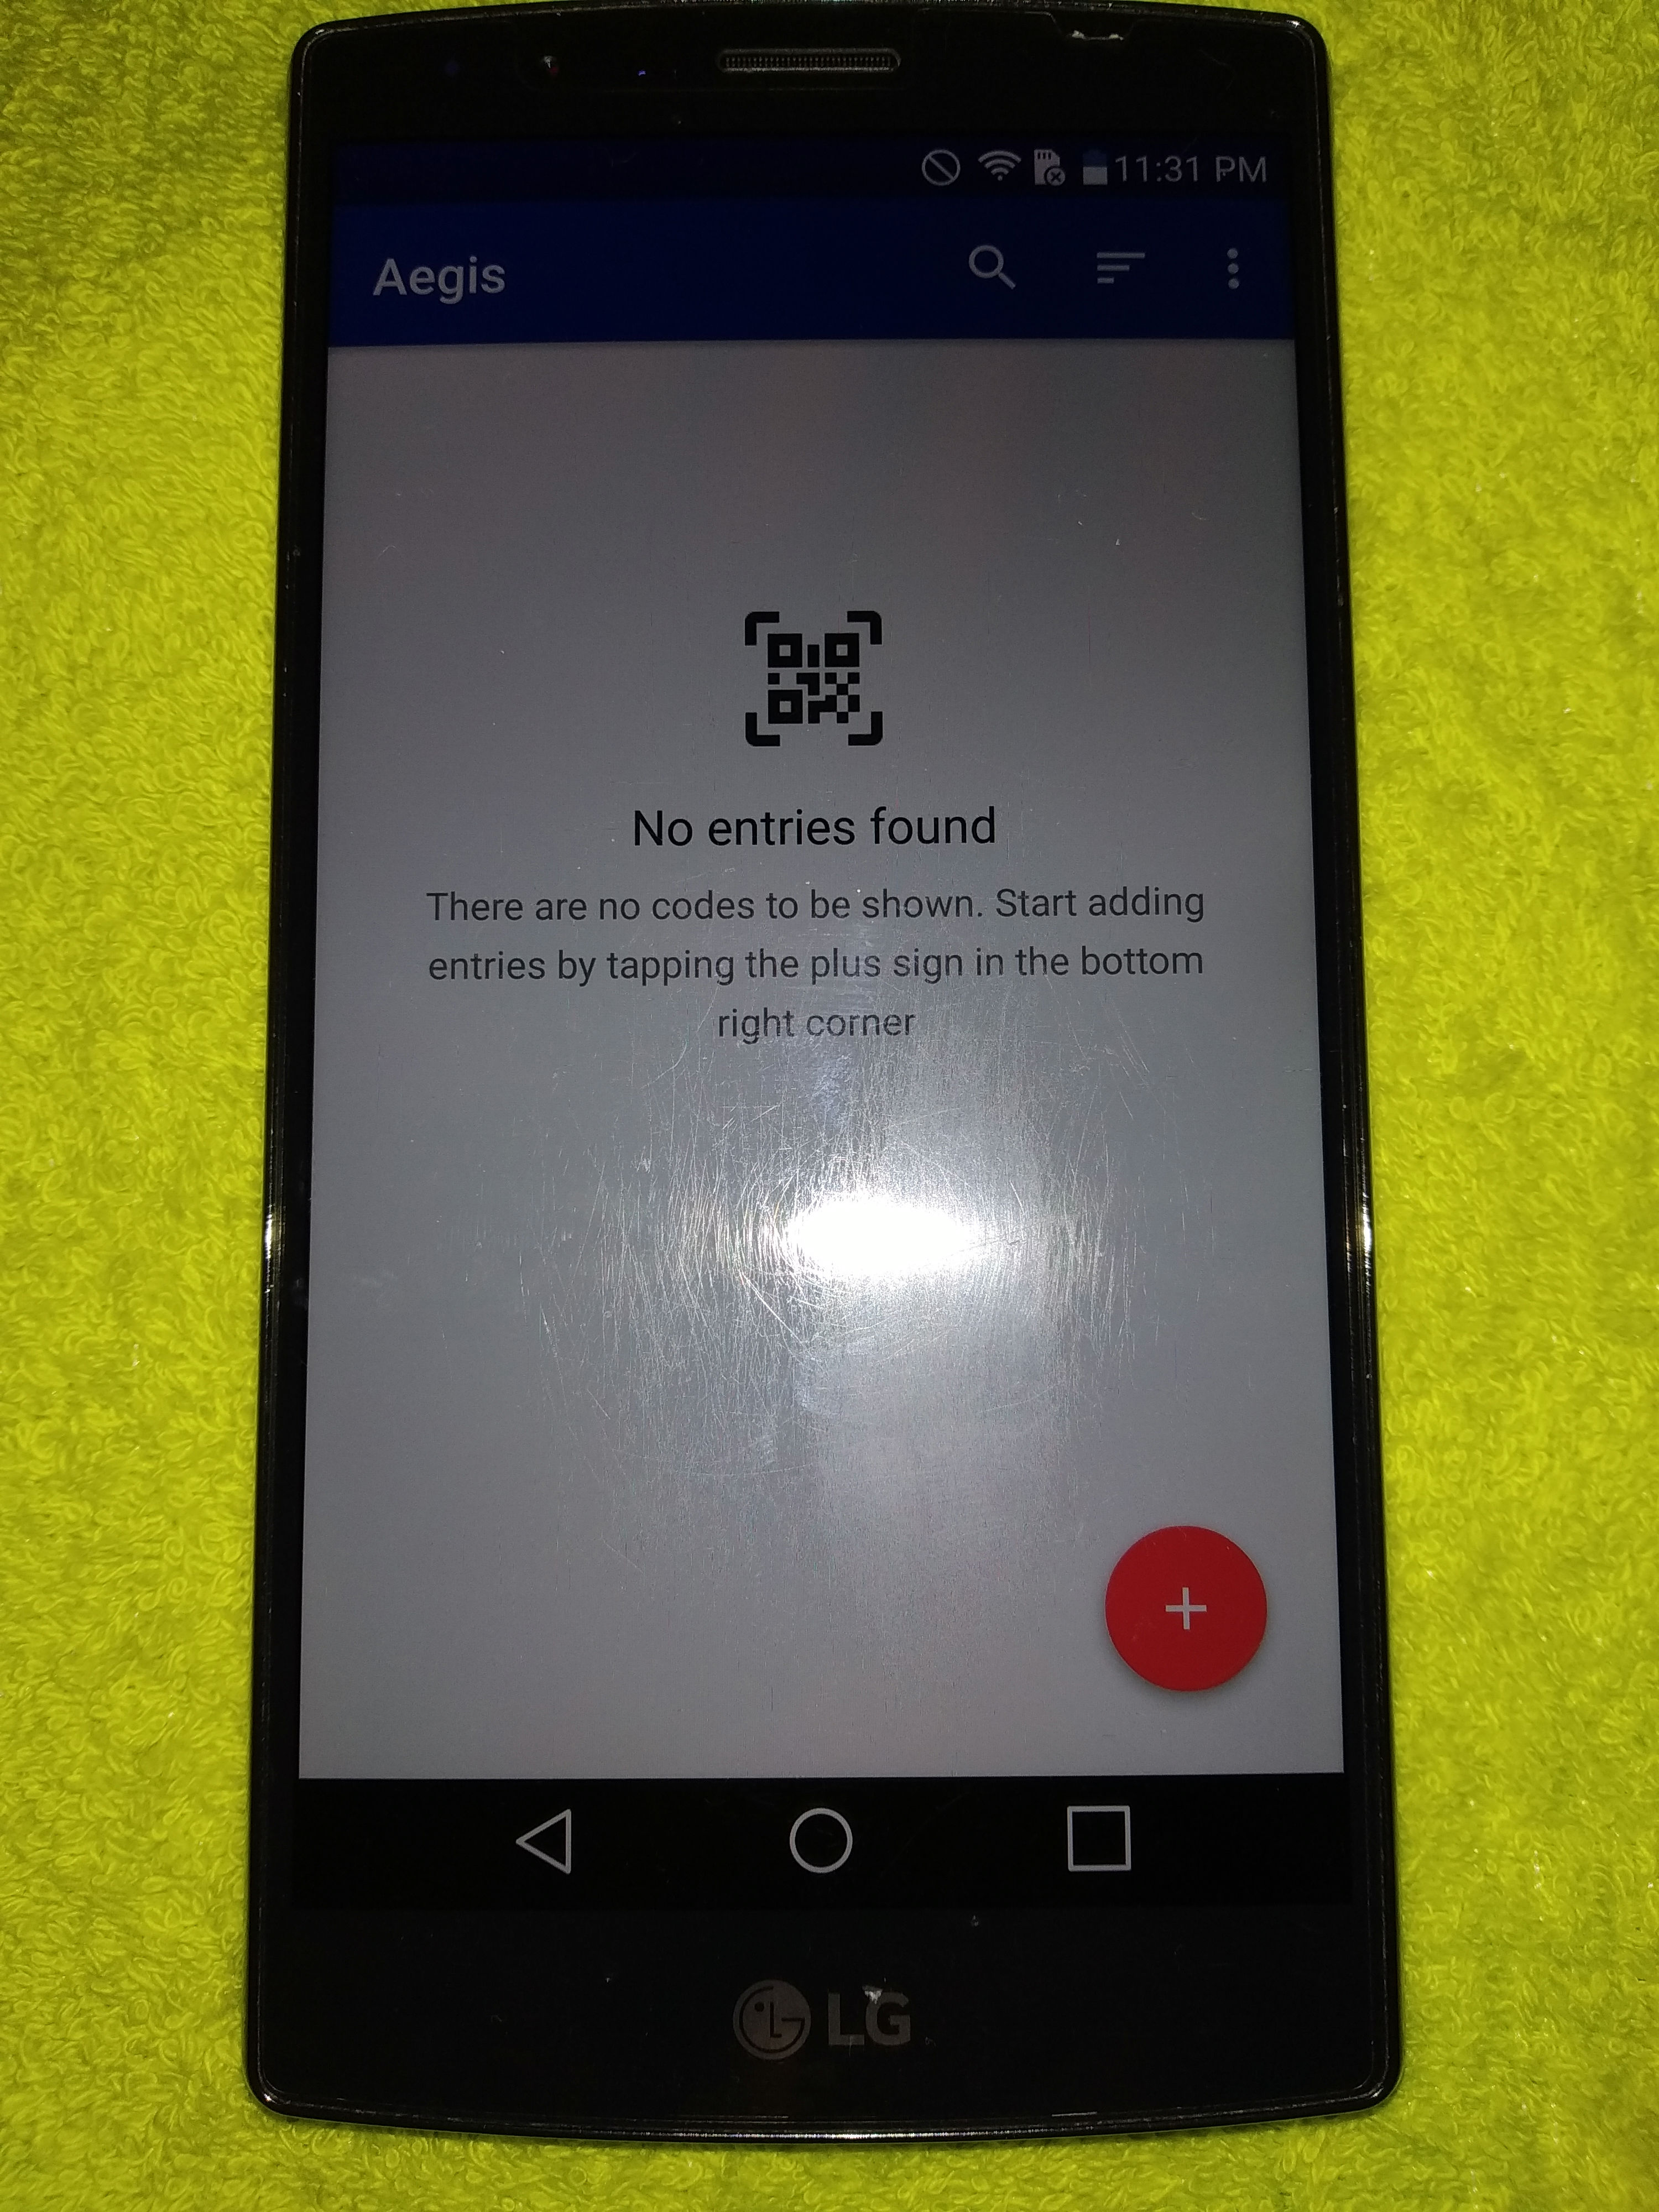
This method annoys me because I have to make sure that the photo I’m taking is focused and clear. Plus, it doesn’t look great as evidence in a pentest report. Then I discovered the Xposed module DisableFlagSecure.
This module disables the FLAG_SECURE window flag system-wide. FLAG_SECURE is is responsible for preventing screenshots to be taken.
After installing DisableFlagSecure from Xposed and rebooting the device, screenshots can now be taken. 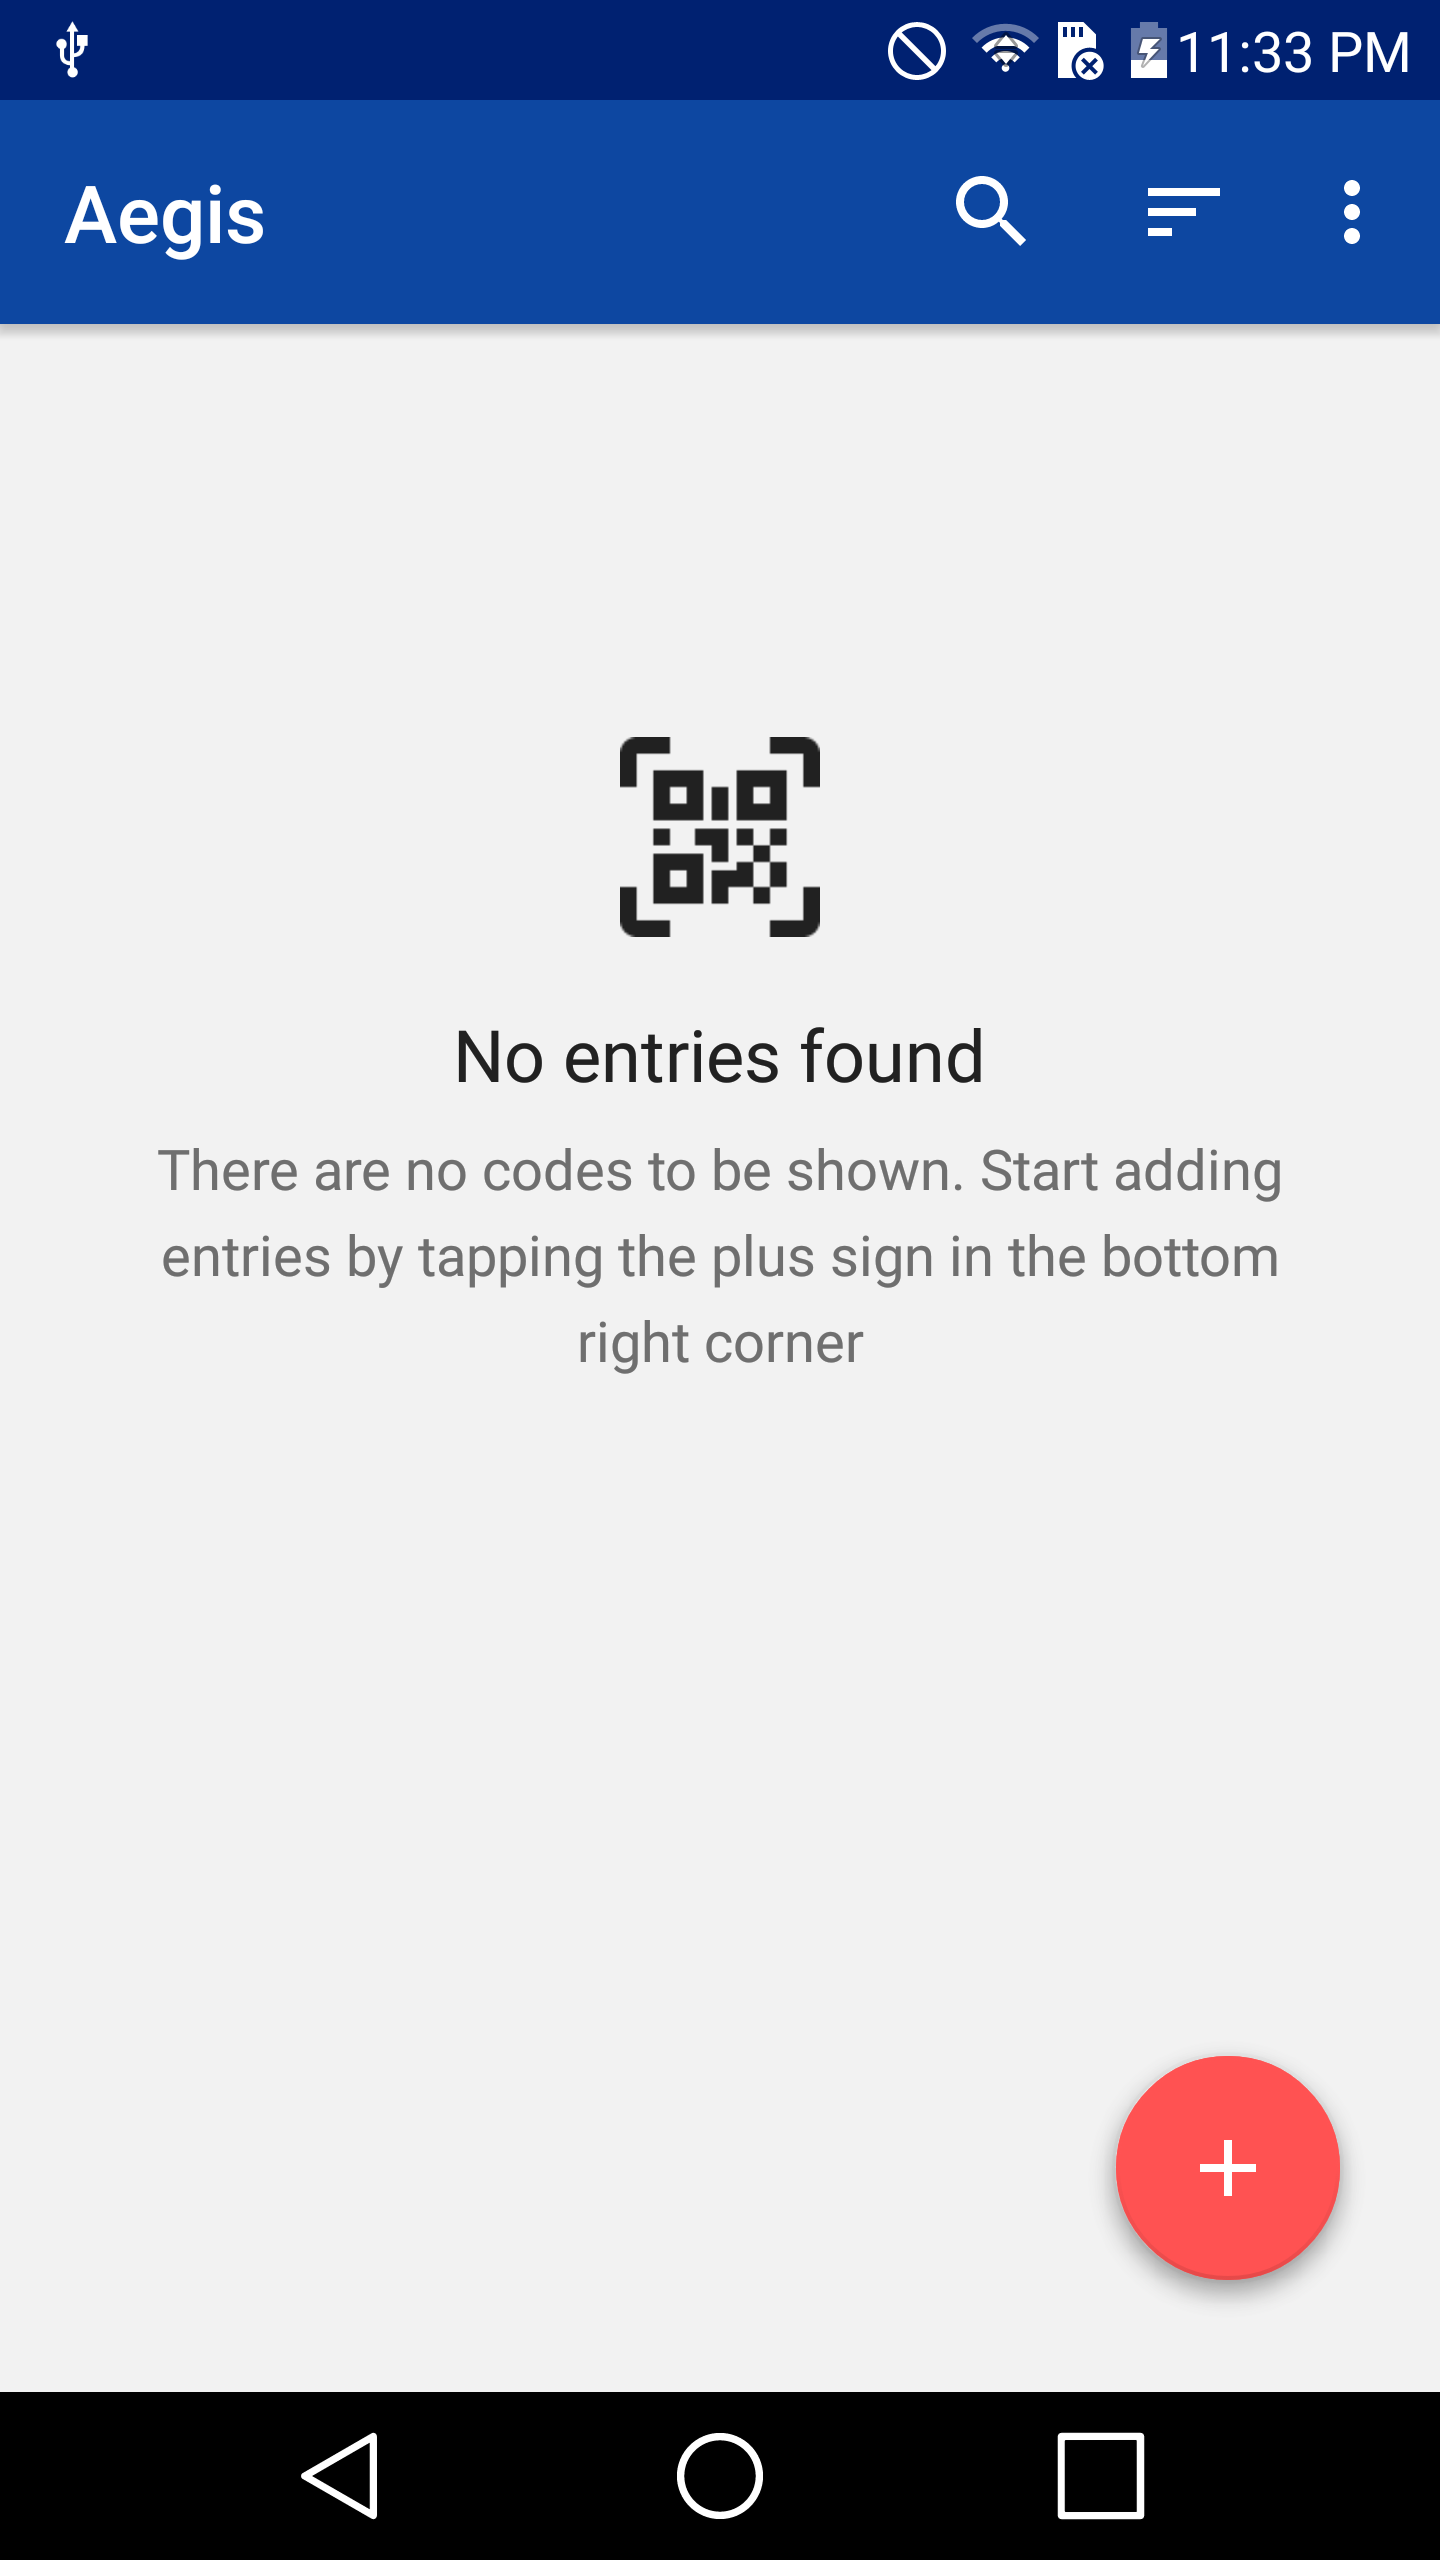
Smali Patcher
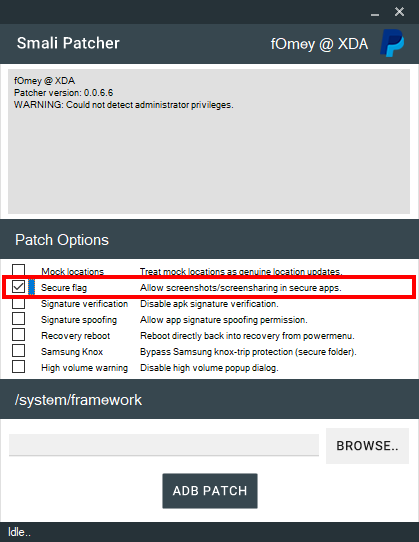
If you want to disable FLAG_SECURE “systemless-ly”, this can be done through Magisk with the help of Smali Patcher.
After running SmaliPatcher.exe for the first time, it will download the necessary binaries and tools that it needs and will store them in the bin and tmp folders. 
Before clicking the ADB PATCH button, ensure the following are met:
- USB Debugging is enabled
- Device is attached to the PC
- USB Debugging connection is authorized
- Desired patch is ticked (
Secure flagin this case)
Once SmaliPatcher is done running, a zip file will be created on the working directory. Just flash this zip file through Magisk, reboot, and the patch (disabling FLAG_SECURE in this case) will be applied. 
SmaliPatcher also supports other patches as seen from the “Patch Options” section of the tool. It’s up to the reader to discover these patches.
ADB Manager
If you’re like me who has several testing devices but has only one cable available for connecting these devices into the computer, or you just hate cables, I found ADB Manager to be very useful. This application allows you to establish an ADB shell via Wi-Fi.
Upon opening ADB Manager, just click the Start Network ADB button. 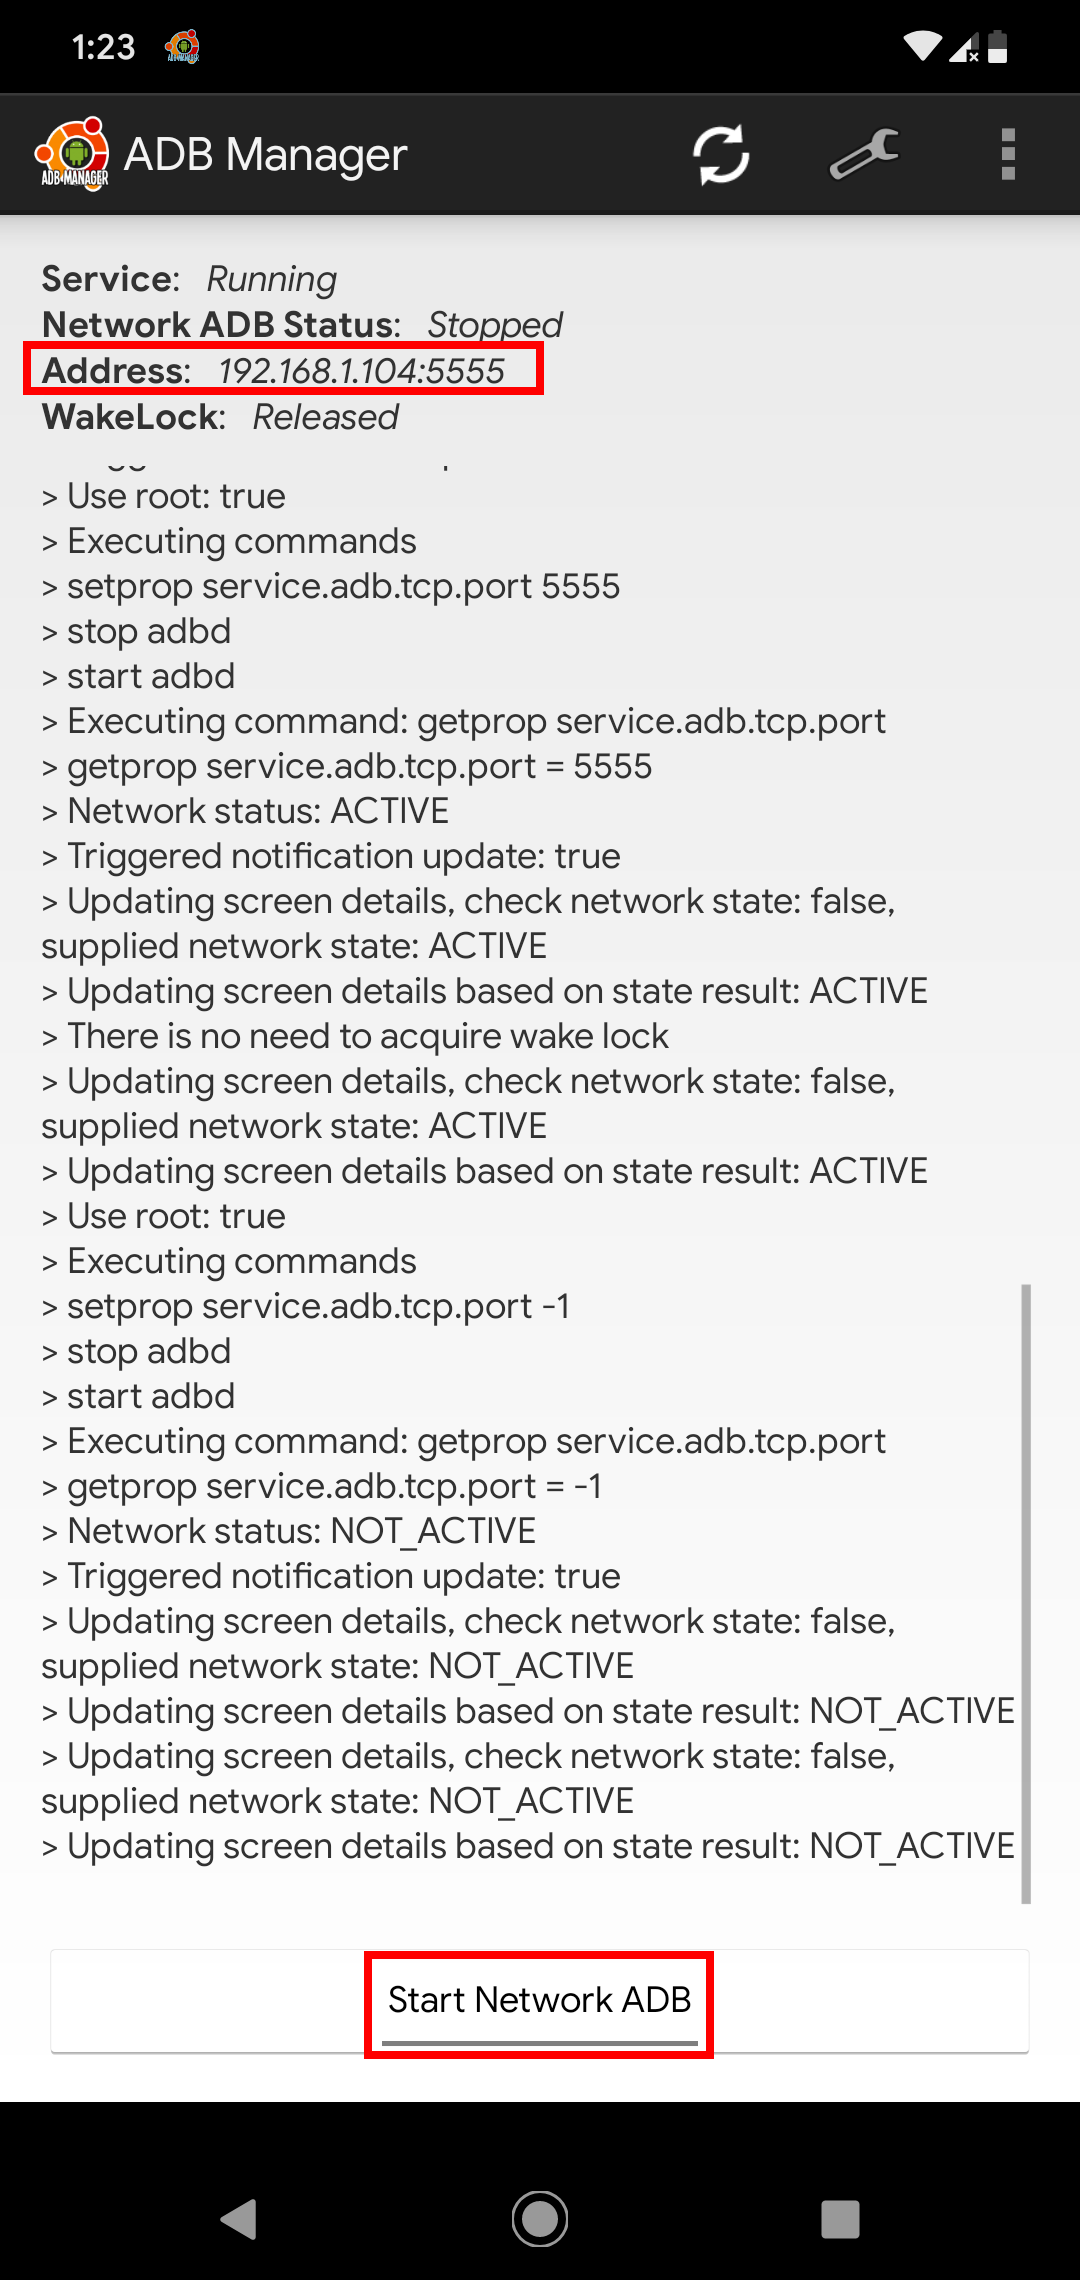
To establish an ADB shell to the testing device (make sure USB Debugging is enabled), just type the following commands:
adb connect <ip-addr-shown-in-ADB-Manager>:<port-shown-in-ADB-Manager>
adb shell
ProxyDroid
When intercepting traffic from a device, you’ll observe a lot of traffic coming from applications other than the target application. 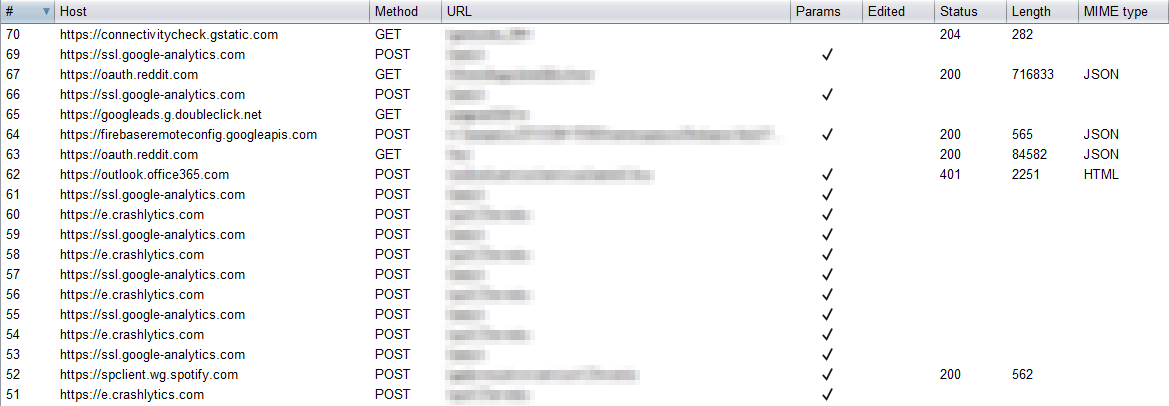
Some of this traffic comes from background services running on the phone, and these unwanted data fill up the proxy history. This causes confusion as to whether a certain HTTP request came from the target application or not. To filter out these unwanted data, the simplest solution is to add the list of target hosts under the proxy’s target scope setting. However, I find this method to be repetitive since I have to do this for every engagement. Also, what if I just wanted to analyze a particular app and I don’t have an idea about the hosts the app is making requests to?
Here comes ProxyDroid! Using its Individual Proxy option, you can select specific app or apps which you want to proxy. 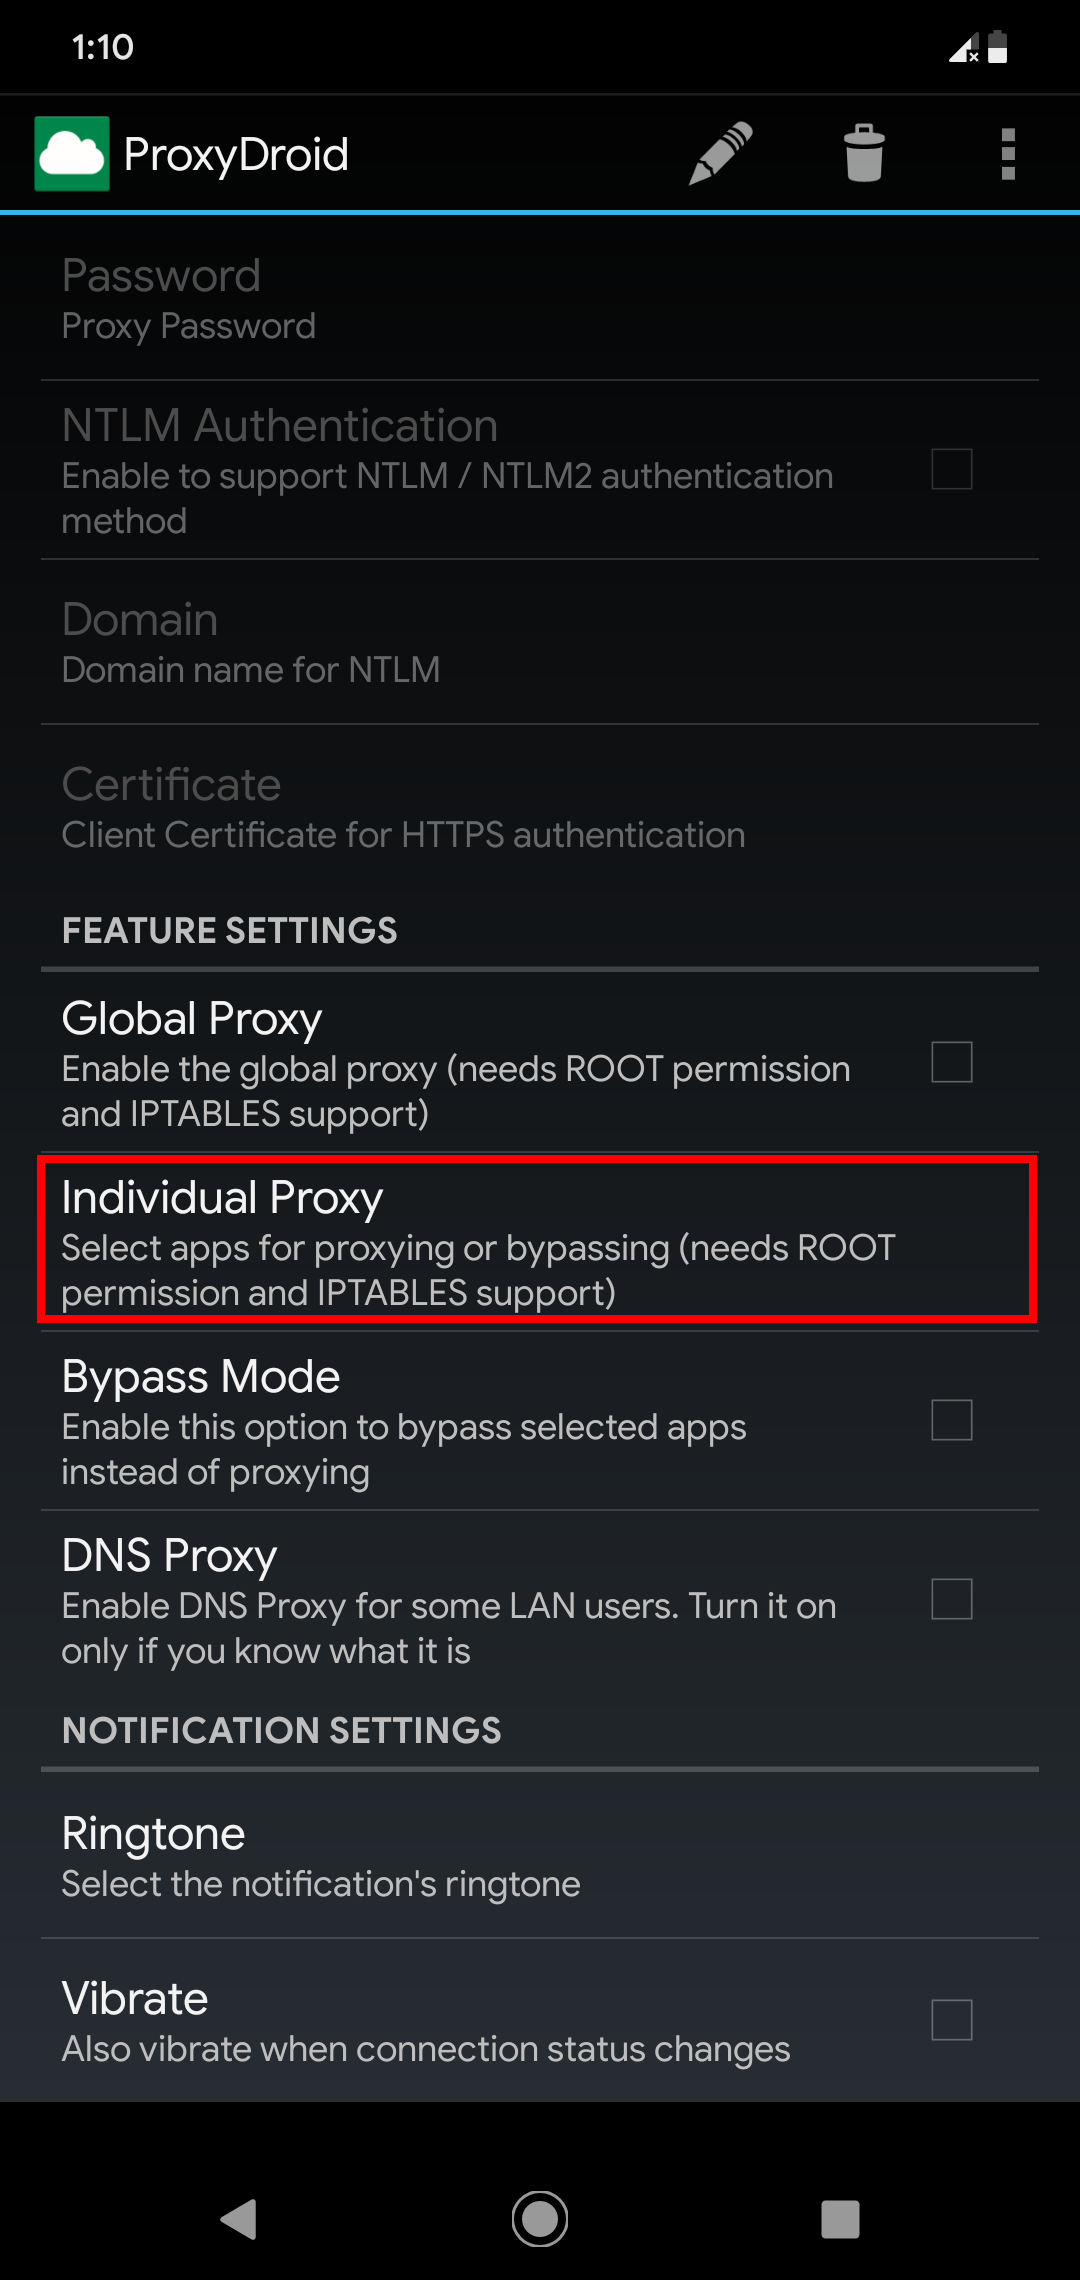
Under the Individual Proxy setting, just tick the app or apps you want to proxy, then switch ON ProxyDroid and everything should be good. 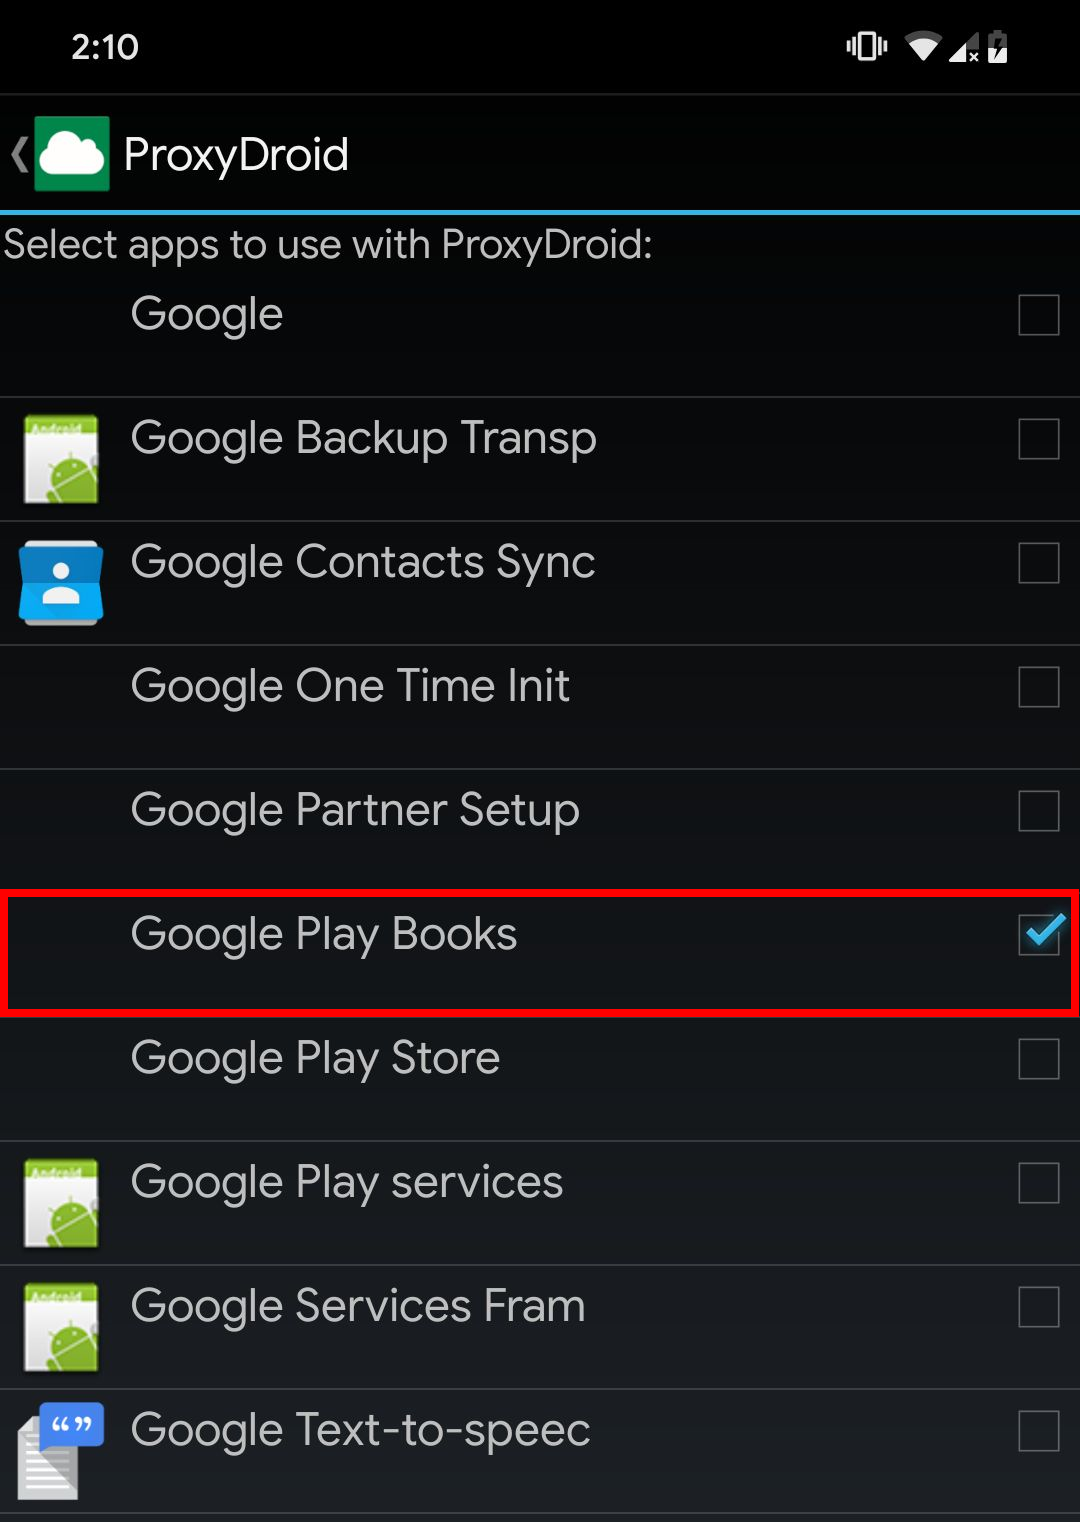
pidcat
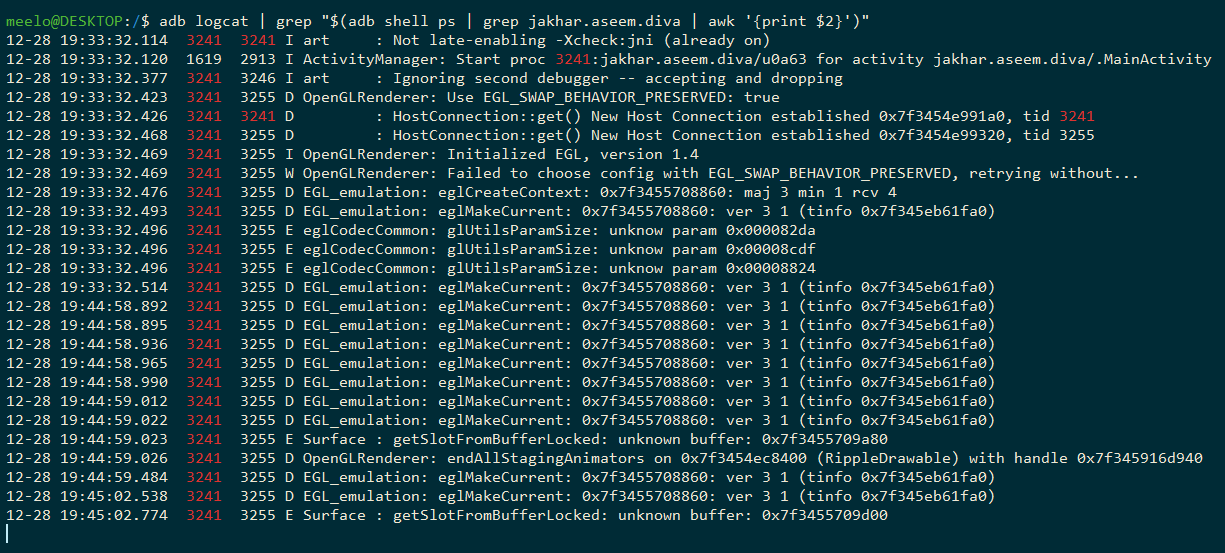
Some applications write sensitive data, in plain-text format, in the system log. The system log can be viewed using Android’s Logcat utility. By simply running the command adb logcat, it prints out a lot of unnecessary data which makes the analysis very hard and confusing. 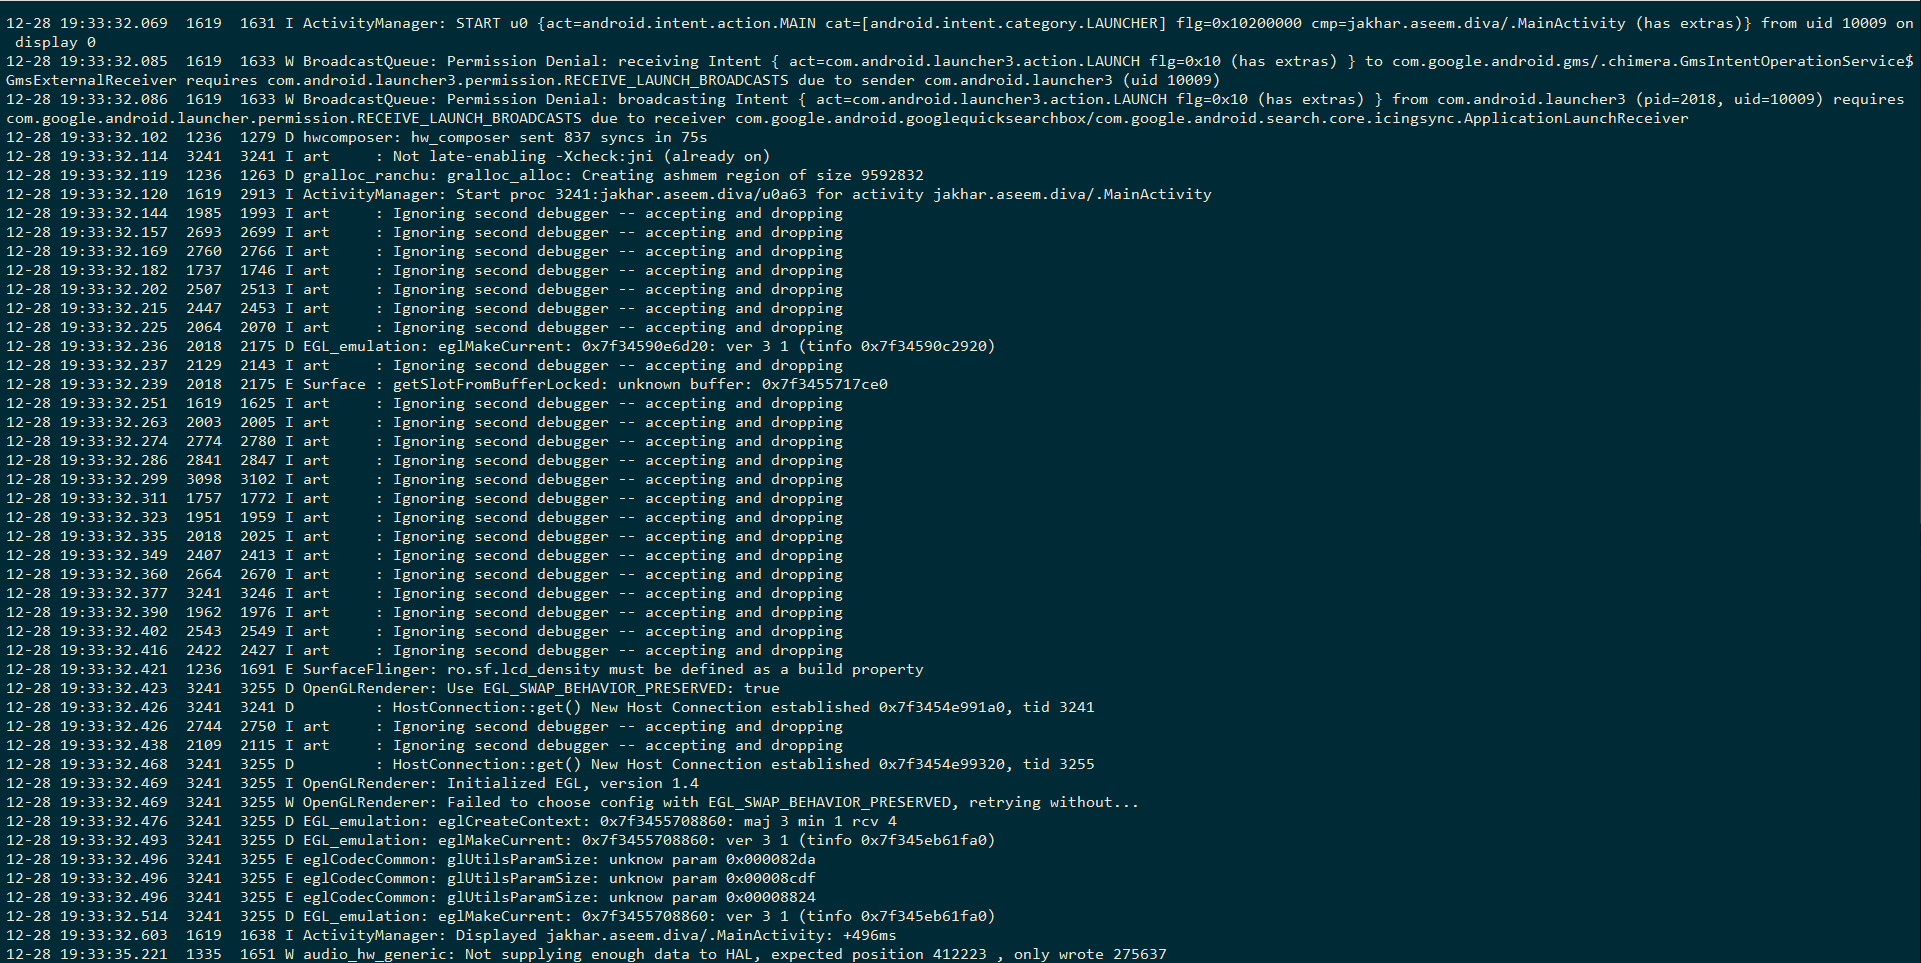
To remove these unnecessary logs, we can filter Logcat’s output based on the target application using the following one-liner command:
adb logcat | grep "$(adb shell ps | grep <target-app-package-name> | awk '{print $2}')"
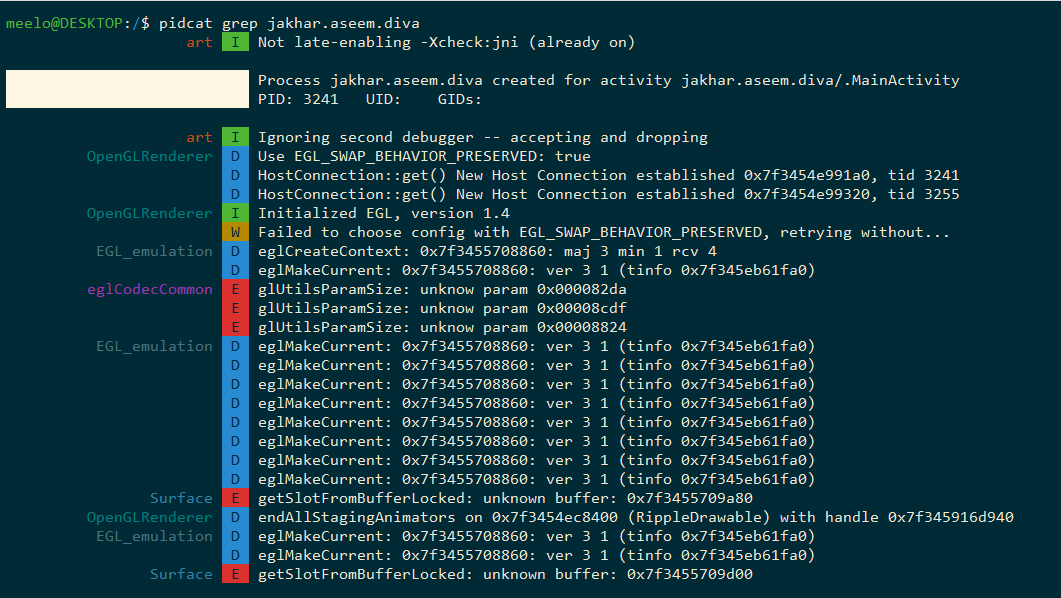
While the above command cleans up the messy Logcat’s default output, my preferred method is by using pidcat. To show log entries for processes from a specific application, just run this simple command:
pidcat <target-app-package-name>
Aside from the simplicity of running the command, you also have a nice colorful output.
resize
When typing long commands in an ADB shell, you’ll notice that the terminal size is limited. 
This is annoying especially when I’m viewing and analysing a file’s contents. Thankfully, BusyBox’s resize binary exists. Just run the command resize and you can now enjoy the full size of your terminal. 
If you’re testing on a physical device, you can install BusyBox via Playstore or do it “systemless-ly” via Magisk
In an emulator which does not have the Google Playstore app, you can install BusyBox with the following commands:
wget --no-parent --no-host-directories --cut-dirs 3 -r https://busybox.net/downloads/binaries/1.30.0-i686/ -P /tmp/busybox
adb push /tmp/busybox /data/data/busybox
adb shell "mount -o rw,remount /system && mv /data/data/busybox /system/bin/busybox && chmod 755 /system/bin/busybox/busybox && /system/bin/busybox/busybox --install /system/bin"
scrcpy
When performing an assessment, I always look back and forth between my phone (to play around with the app I’m testing) and my monitors (to see what’s going on while piddling with the app, etc.). I find it annoying and it hurts my neck when looking at my phone for a long period since it is sitting on my desk.
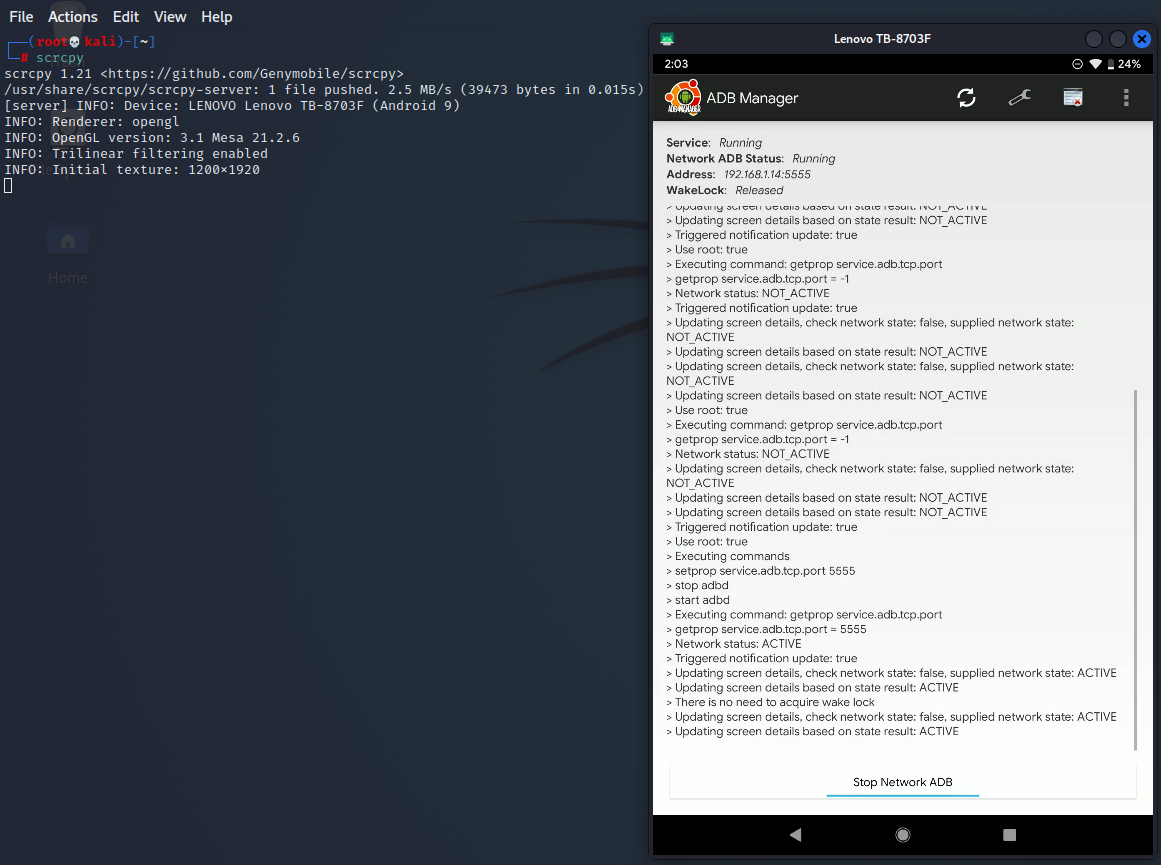
Good thing scrcpy exists, which allowed me to view and control my device from my PC. To use it, just run the command scrcpy and you’re good to go.
frida-android-helper
frida-android-helper is a very handy tool for someone (like me) who doesn’t like typing long commands or a series of commands just to do one thing. For example, if you’re using adb to take a screenshot, you would have to type the following commands to take a screenshot and pull it from your phone to your pc.
# adb shell screencap -p /sdcard/screencap.png
# adb pull /sdcard/screencap.png
But with frida-android-helper, this can be done with a simple command; fah screen. 
Another feature I liked is how easy it is to manage (starting, stopping, updating, etc.) Frida. No need to run multiple commands. For example, to update Frida, just execute fah server update then it will fetch and install the latest version of frida-server.
┌──(venv)(root💀kali)-[~]
└─# fah server update
⚡ Updating frida-server
📲 Device: LenovoTB-8703F_A9 (192.168.1.14:5555)
⚡ Downloading frida-server-15.1.17-android-arm64.xz...
⚡ Extracting frida-server-15.1.17-android-arm64.xz...
⚡ Writing frida-server-15.1.17-android-arm64.xz...
Conclusion
That’s all. Thanks for reading!
